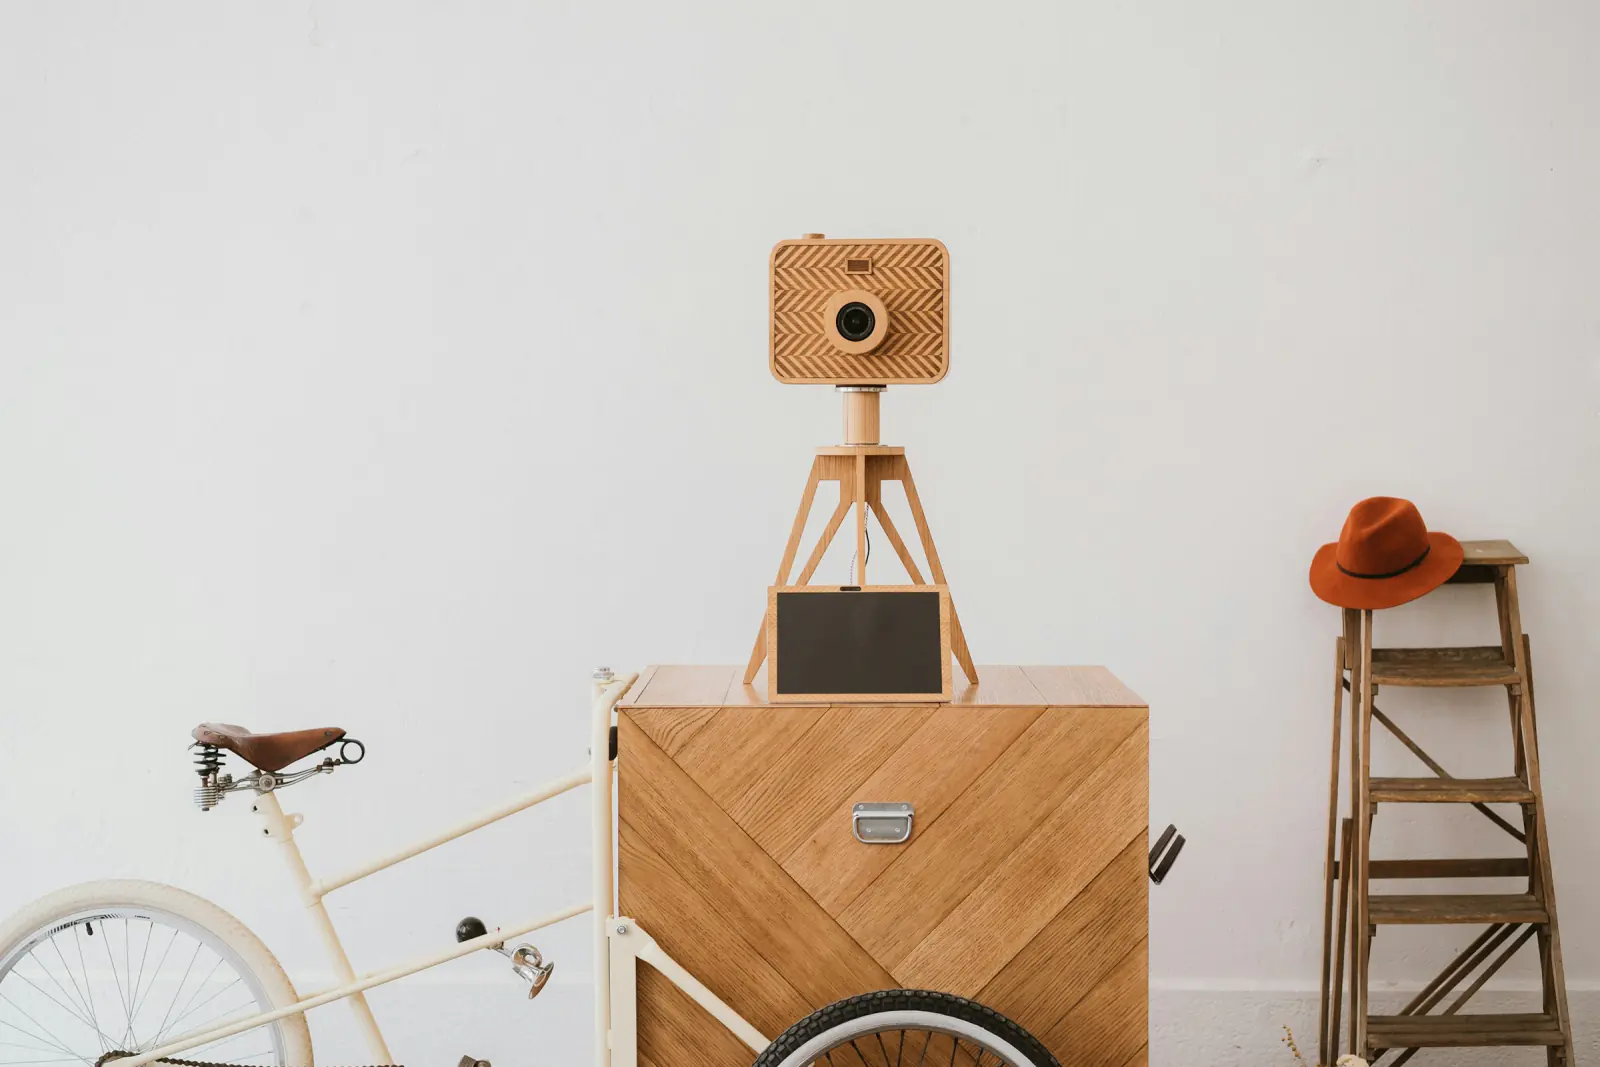
You do not need a rented booth to create a fixed photo station. A device you already own, a stable position, usable light, and a clear guest flow cover the essentials. Start with the smallest setup and add equipment only after a real test shows a need.
What you need
- A phone, tablet, or laptop with a front-facing camera
- A modern browser with JavaScript and camera access
- A stable stand or secure surface
- Power for the full event
- A simple front light when the room is dim
- A clean wall or backdrop
- Clear instructions for guests
The free online photo booth takes four photos, lets guests approve or retake them, and creates a JPEG collage locally on the device.
Choose the device
Tablet
A tablet usually offers the easiest guest experience: a large touch target, a front camera, and a screen that can sit close to eye level. Check that the browser keeps camera permission and does not lock during short idle periods.
Laptop
A laptop is stable and easy to power, but the camera often sits too low. Raise it safely rather than tilting the screen sharply upward. Hide the keyboard if accidental input is a risk.
Phone
A phone is compact and often has the best front camera. Its smaller controls can be less convenient for groups, so use a rigid mount and test the interface with one hand.
Build a stable support
The stand matters more than decorative furniture. It must not tip when guests tap the screen. Keep charging cables secured along a wall or under cable covers.
Create useful light
Try available window light first. For evening events, place one diffused LED or ring light directly behind and slightly above the device. Avoid colored party lights on faces unless the effect is intentional.
Make a simple backdrop
A plain wall, curtain, paper roll, or tidy corner can work. Choose a non-reflective surface and leave enough width for groups. Patterns should not compete with overlay text.
Configure the browser booth
- Open the booth and grant camera access.
- Select the effect and enter a short caption.
- Choose square, vertical column, or postcard (A6, about 4×6 in).
- Take four test photos.
- Download and open the JPEG.
- Check crop, text, brightness, and file location.
Photos are processed locally. The booth does not upload them or build a shared album. If many groups use the same device, decide who collects the downloaded files afterward.
Low-cost upgrade order
- Stable camera height
- Better front light
- Cleaner backdrop
- Power and cable management
- Props and decoration
Buying more decorations cannot compensate for an unstable camera or dark faces.
When DIY is not enough
Choose a staffed rental if you need onsite support, integrated printing, professional flash, or replacement hardware. Choose a cloud gallery service if guests must upload from their own phones, share one album, or see a live slideshow. Guest Pictures provides those gallery features separately.
Event-day checklist
- Device and backup power charged
- Camera permission verified
- Screen lock disabled for the event
- One full session downloaded successfully
- Stand and cables secured
- Light and group framing tested
- Download instructions visible
- Responsible helper identified
Steffen Knödler
Our editorial team checks every guide against the current workflow and feature set of the free browser photo booth.
About the product and editorial processTry These Tips Yourself!
Ready to create amazing photos with all the effects mentioned in this article? Try our free photo booth now!