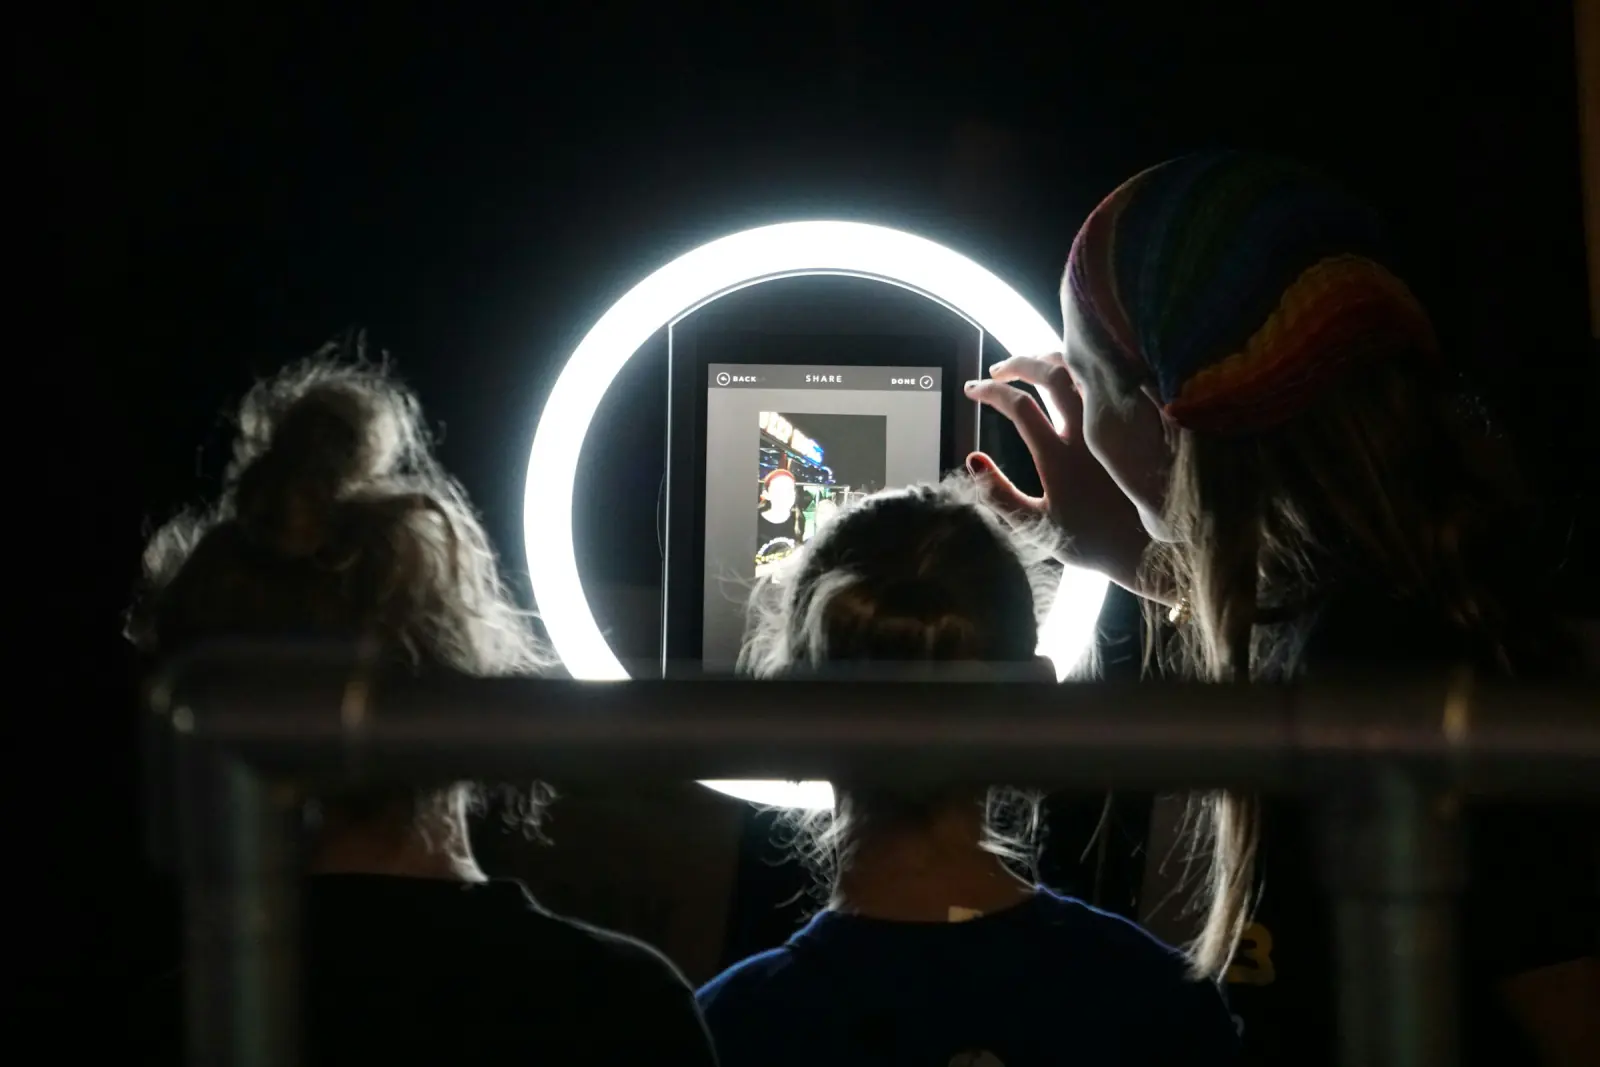
An iPad or Android tablet is the most practical device for a self-built photo booth: large screen, front camera, touch controls that guests understand without instructions, and enough battery for a long evening. This guide walks through the physical setup in the order you would actually do it on the day, using Photobooth Free, a free online photo booth that runs in the browser, as the booth software. Nothing has to be installed.
1. Pick the device
You can run a browser booth on a tablet, a laptop, or a phone. The differences matter more than the spec sheets suggest.
| Device | Strengths | Weak points | Best for |
|---|---|---|---|
| iPad / Android tablet | Large touch buttons, front camera at a sensible position, easy to mount | Front camera weaker than the rear camera; needs a holder | Most parties, weddings, office events |
| Laptop | Stable, easy to power, good screen | Webcam sits low and is usually 720p; keyboard invites accidental input | Long events with a helper nearby |
| Phone | Best front camera, always available | Small controls; groups struggle to read the countdown | Small gatherings, backup device |
An iPad from 2018 onward or a mid-range Android tablet with a 5–8 MP front camera is enough for a 2×2 collage viewed on phones or printed at postcard size.
One iPad-specific detail: Safari asks for camera access the first time the booth opens; tap Allow. After that the iPad runs exactly like an Android tablet or laptop: live camera preview, and the 3-second countdown fires automatically. If the camera does not start in the browser, the booth opens the iPad's camera app for each shot instead.
2. Mount the tablet with the lens at about 150 cm
Camera height is the single most common mistake. Tablets propped on a table produce a low, upward angle that shows ceilings and double chins.
- Target: the lens at about 150 cm from the floor (roughly 59 in). That is slightly below average adult eye level and works for mixed groups, children, and wheelchair users.
- The front camera sits at the edge of the tablet, not in the centre. On an iPad in landscape orientation the lens is on the long edge. Measure to the lens, not to the middle of the screen.
- Use a tripod with a spring-loaded tablet holder, a floor stand, or a heavy-based music stand. A tablet adapter on a standard photo tripod is the cheapest stable solution.
- Tilt the tablet no more than 5 degrees. Any more and faces distort.
Orientation follows the collage layout: portrait for the Column layout (vertical phone strip), landscape for Square (2×2 grid) or Postcard (A6 landscape). Decide this before you fix the mount.
3. Light faces from the front
Tablet front cameras have small sensors. They produce clean images in good light and grainy, orange images in a dim room. You cannot fix this afterwards, so fix it in the room.
- Daylight: place the booth so guests face a window. The tablet stands between the window and the guests, never the other way around.
- Evening: a ring light (25–30 cm diameter, about 20 W, adjustable colour temperature) mounted directly behind or around the tablet is the standard solution. Set it to a neutral 4000–4500 K and 60–80 % brightness; full power causes squinting and shiny foreheads.
- Avoid backlight. A bright window, a string of fairy lights, or a projection screen behind the guests turns them into silhouettes. Turn the booth or close the curtains.
Test with a photo of yourself: grey eye whites against a bright background mean the light comes from the wrong direction.
4. Backdrop and standing point
The background is what guests notice in the collage, and it also helps the camera expose faces correctly.
- Distance: guests stand 1.2–1.8 m from the tablet; the backdrop is another 0.5–1 m behind them. This keeps shadows off the backdrop and fits three to four people in the frame.
- Options that work: a plain painted wall, a 2×2 m fabric backdrop on a telescopic stand, a sequin curtain, a balloon arch, or a shelf of matching decorations. Avoid glossy foil unless you like reflections of the ring light.
- Mark the standing point with removable tape or a small rug. Guests position themselves without being told.
More low-cost backdrop ideas are in the DIY photo booth guide.
5. Lock the tablet into kiosk mode
A booth that guests use unattended needs protection from accidental taps.
iPad – Guided Access
- Settings → Accessibility → Guided Access → turn on and set a passcode.
- Open the booth in Safari.
- Triple-click the side or home button, then tap Start.
- Optionally circle the address bar to disable it.
- Triple-click again and enter the passcode to end.
Also set Auto-Lock to Never and enable Do Not Disturb.
Android – App pinning (screen pinning)
- Settings → Security → App pinning (wording varies by manufacturer) → turn on, require PIN to unpin.
- Open the booth in Chrome.
- Open the recent apps view, tap the icon above the Chrome card → Pin.
- Hold Back and Overview together to unpin.
Set the screen timeout to 30 minutes and enable Do Not Disturb.
6. Power
A tablet at 80 % brightness with the camera running lasts four to six hours. A wedding runs eight. Plug it in.
- Use the original charger or a 20 W+ USB-C or Lightning charger; a weak charger cannot keep up with the screen.
- Route the cable down a tripod leg and tape it to the floor. Cables are the main tripping hazard at a booth.
- If no outlet is nearby, a 20,000 mAh power bank covers another full evening.
7. Wi-Fi: not required once the page is open
The browser booth loads once and then works offline: camera, effects, collage rendering, and the JPEG download all happen on the tablet. Photos are never uploaded. A village hall with weak reception is fine, with three caveats:
- Open the page before the event, while you still have Wi-Fi or mobile data.
- Do not close the tab or force-quit the browser. Guided Access helps here.
- If guests want to send their collage to their own phone (AirDrop, messaging, email), that transfer needs a connection. Without one, collect the files from the tablet's download folder after the party.
8. Open the booth and add it to the home screen
- Open Safari (iPad) or Chrome (Android) and go to photobooth-free.com/photobooth.
- Allow camera access when the browser asks. On iPad choose Allow and, if offered, allow it for the website every time.
- Pick an effect (for example Instant photo or Party), a layout, and type a short caption such as the couple's names or "Sarah's 40th – 12 Sept".
- Add the page to the home screen: on iPad tap Share → Add to Home Screen; on Android tap the three-dot menu → Add to Home screen. The icon opens the booth in a clean full-screen view without tabs or a bookmarks bar.
- Open the booth from the new icon, then start Guided Access or app pinning.
9. Do a full test run
Ideally at the venue at the same time of day as the event; otherwise at home under similar light.
- Take a complete session of four photos with two or three people.
- Download the JPEG and open it on a phone. Check sharpness, skin tones, caption spelling, and the frame edges.
- Time the whole flow from first tap to download; under two minutes is the target.
- Confirm that the tablet is still on the booth page after five minutes without input.
For a complete pre-party checklist see photo booth tips for the perfect party.
10. Signage
Guests use a booth that explains itself. A single A4 sheet at eye level next to the tablet is enough:
- Stand on the mark.
- Tap Start – 4 photos, 3-second countdown each.
- Download your collage or AirDrop it to your phone.
If guests should also upload their own phone photos into one live album, the sister product Guest Pictures does that via QR code; the booth itself keeps every photo on the tablet.
FAQ
Can I use an old iPad as a photo booth?
Yes, if it runs a current Safari version and the front camera works. An iPad from 2018 or later is fine; older models may lack the browser features needed for camera access. Do a test session first.
Does the tablet photo booth need Wi-Fi during the party?
No. After the page has loaded, the camera, effects, and collage rendering all run on the tablet. A connection is only needed to open the page initially and if guests want to send the JPEG to their own phone.
Does the iPad show a live preview?
Yes. After Safari's one-time camera prompt, the iPad shows the live preview with the effect, and the countdown takes the photos automatically. Only if the camera does not start in the browser does the booth fall back to the camera app for each shot.
How high should the tablet be mounted?
Aim for the lens at about 150 cm from the floor, tilted no more than 5 degrees. This flatters mixed-height groups and avoids the low angle that tabletop setups produce.
Steffen Knödler
Our editorial team checks every guide against the current workflow and feature set of the free browser photo booth.
About the product and editorial processTry These Tips Yourself!
Ready to create amazing photos with all the effects mentioned in this article? Try our free photo booth now!