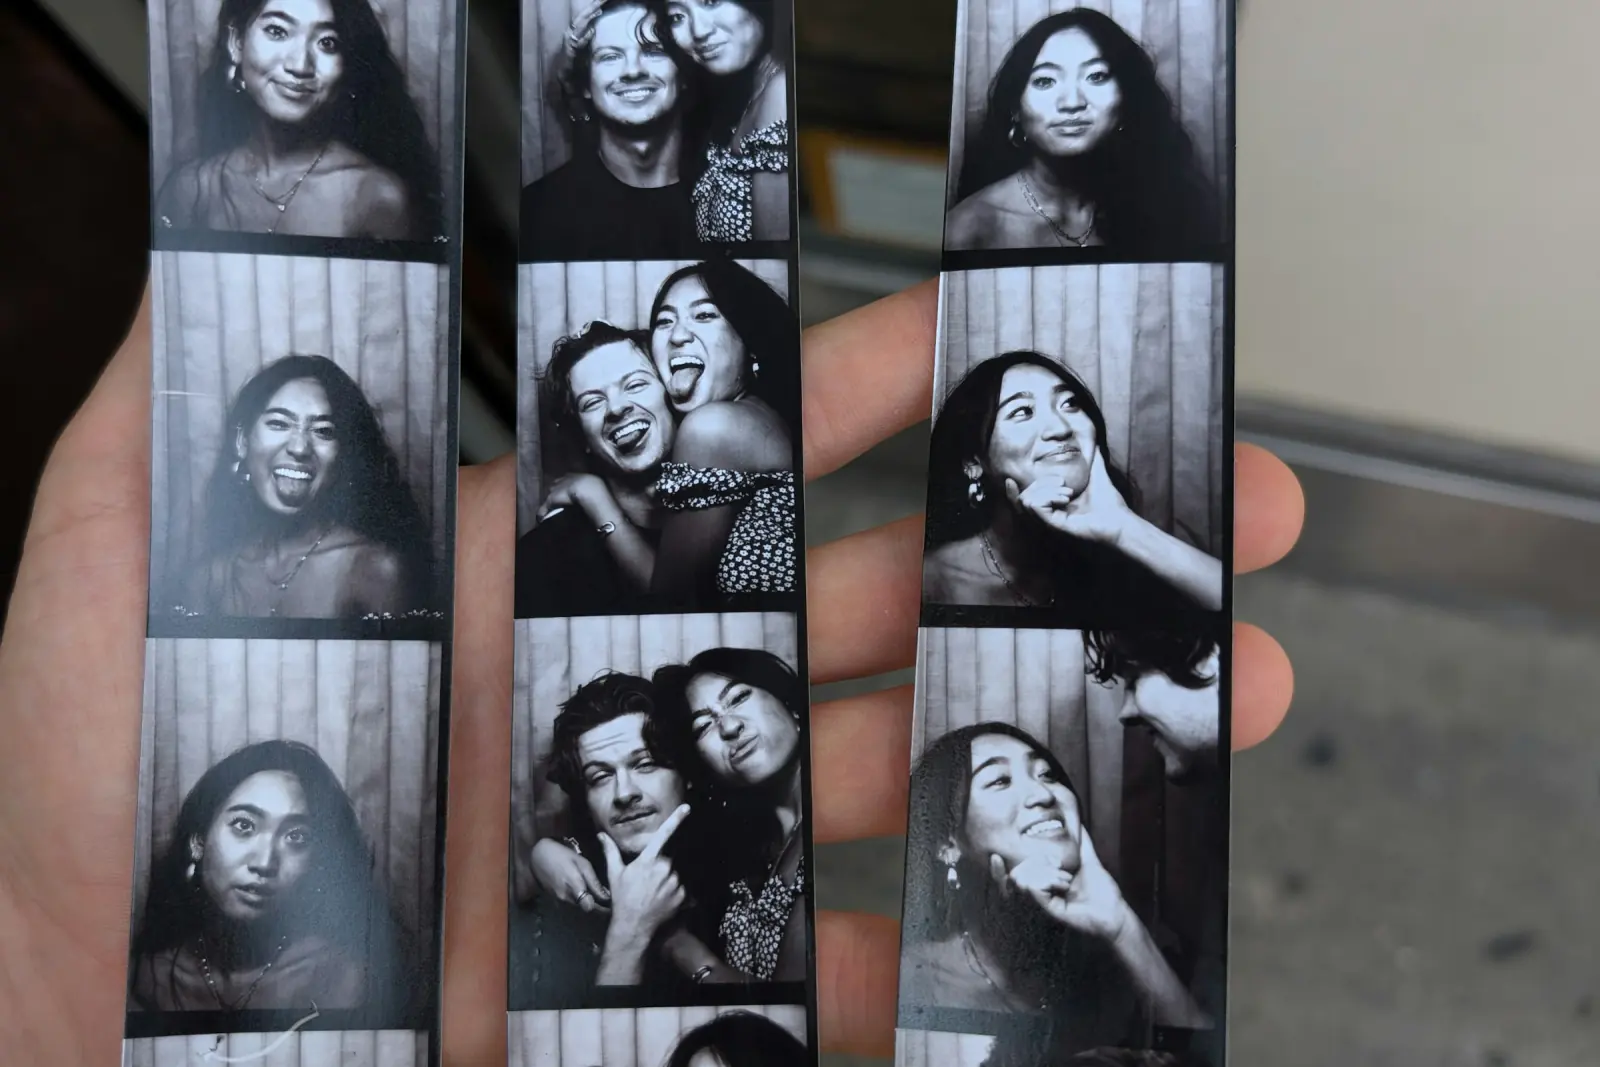
The vertical four-photo strip is back. Self photo studios in Seoul and Tokyo made it a ritual again: walk in with friends, pose four times, walk out with a narrow strip you pin to a mirror. You do not need a studio or a rented machine for the same result. A laptop with a webcam or an Android phone, a browser, and about three minutes are enough. This guide walks through the full workflow in Photobooth Free, the free online photo booth (or jump straight to the photo strip maker), then covers printing, sharing, strips with a friend far away, and poses.
What you need
- A laptop or desktop with a webcam, or a phone or tablet with a front camera. iPhone and iPad work in Safari with the same live preview and countdown.
- A current browser (Chrome, Edge, Firefox, Safari). No download, no account, no app.
- Front light. A window in front of you or a desk lamp behind the screen is enough. Overhead light alone creates shadows under the eyes.
- Optional: a stack of books to raise the laptop so the camera sits at eye level.
Everything runs in the browser. The photos are processed on your device and never uploaded to a server, so this is also a fair choice for kids' parties or workplaces with strict rules.
Step 1: pick the Column layout
The booth offers three collage layouts. For a classic strip you want Column: four photos stacked vertically, sized for a phone screen and for cutting into a narrow print. The other two layouts are useful in other situations:
| Layout | Shape | Best for |
|---|---|---|
| Column | Vertical strip, 4 stacked photos | Classic booth strip, Stories, printing at 2×6 in |
| Square | 2×2 grid | Instagram feed, messaging |
| Postcard | A6 landscape | Mailing, fridge magnets, table cards |
Choose Column before you start the session. The layout defines how each shot is cropped, so switching afterwards means a new round of photos.
Step 2: choose a frame effect
15 effects change the frame, colors, and mood of the strip. For the Korean and Japanese studio look, three fit especially well:
- Instant photo: white border, soft tones, the most timeless option.
- Vintage film: muted colors and grain, close to what an analog booth prints.
- Social-post frame: clean, bright, modern.
The louder effects (Breaking News, Wanted poster, Party, Magazine cover) work for themed nights and gag strips. Challenge mode shows a random pose prompt with its own 10-second countdown before each shot, which is the easiest way to get four different poses from a group that would otherwise freeze in the same smile four times.
Step 3: add custom text and a date
The frame accepts a short line of custom text. Studios usually print the date and a location or nickname at the bottom of the strip. Good examples:
- 09.14.2026 · Emma's 18th
- Roadtrip Portland 2026
- Team offsite, day 2
Keep it under about 25 characters so it stays readable after printing at 2 inches wide. Check spelling now; it is baked into the JPEG.
Step 4: shoot four countdown photos
Start the session. Each shot has a 3-second countdown, so you have time to change your pose between frames. After each photo you see it for a moment: with a live camera it is kept automatically after about two seconds, or tap Retake, so nobody has to keep a blink. Tips:
- Decide the four poses before you start (see the pose list below).
- Stand close together. The Column layout is narrow, and gaps at the sides look empty.
- Look at the camera lens, not at the preview on screen. On a laptop the lens sits above the display.
- Keep hands inside the frame. Cut-off props are the most common retake reason.
Step 5: download the JPEG
After the fourth photo you can decorate the strip (stickers, text, a frame colour or pattern, your own PNG) or skip that step. The strip is then rendered and you download it as a single JPEG. Rename it right away (for example strip-emma-18-01.jpg) if you plan to make several. Nothing is stored online, so if you close the tab without saving, the strip is gone.
Printing your strip at home
The traditional booth strip measures 2×6 inches (5×15 cm), a 1:3 aspect ratio. Home printers do not have a 2×6 paper tray, and most drugstore kiosks do not offer that size either. The standard workaround — two strips side by side on one 4×6 inch (10×15 cm) print — is now one button in the booth. In the Print menu of a Column strip:
- 2 strips on 4×6 in prints two copies side by side on one 4×6 sheet, with short cut marks at the top and bottom edge.
- Save 4×6 sheet (JPEG) saves the same sheet as a 1200×1800 pixel file (300 dpi) for a printer app, a kiosk or an online print order.
Print on glossy or matte photo paper and cut down the middle with a paper trimmer or a ruler and craft knife.
Prefer to build the sheet yourself, for example to combine two different strips? In any image editor, create a 1200×1800 pixel canvas, place two strips side by side at 600×1800 pixels each (scale a slightly taller strip to the height and leave a thin white margin), print at 100 % and cut.
Two strips from one 4×6 print means one for you and one for your friend, exactly like the studio version. Want a decorated border around the photos? Our free photo strip templates are transparent PNG frames in exactly these sizes.
Printing at a drugstore or photo kiosk
Copy the 4×6 sheet (saved from the booth or built yourself) to a USB stick or upload it to the store's app, then order 4×6 glossy prints. At the kiosk:
- Turn off any automatic cropping or "fill" option. It will chop off the top or bottom of the strip.
- Choose glossy paper if you want the classic booth feel, matte if you plan to write on the back.
- Order a few extra copies; the price difference is minimal, and strips get handed around.
If a kiosk offers a "2 per page" or "wallet" layout for a single image, you can also upload the plain strip and let the kiosk place it twice.
Sharing to Instagram Stories and TikTok
The Column layout is already vertical, so it fits Stories and TikTok's 9:16 frame far better than a square grid. Two options:
- Simple: open Stories, pick the JPEG, pinch to scale so the strip fills the height, and pick a background color that matches the frame effect.
- Polished: in the story editor, add the strip as a sticker, tilt it a few degrees, and add a second strip behind it. This mirrors the look of two physical strips on a desk.
For TikTok, a short clip of the printed strip being cut out, followed by the digital version, performs better than the still image alone.
Photo strips with a friend in another city
For two people in two places there is now a dedicated mode: the photo booth with a friend. One of you creates a room and sends the link; you see each other live, one countdown runs on both screens, and every shot lands side by side in one shared strip that both of you can save. The photos go directly between the two devices.
Prefer separate strips? Agree on one effect, layout and text, count down out loud on a video call, and let each person run the regular booth on their own device.
Pose ideas for four frames
A good strip tells a tiny story from top to bottom. Some tested sequences:
| Frame | Sequence A: Classic | Sequence B: Story | Sequence C: Duo |
|---|---|---|---|
| 1 | Straight smile, everyone looks at the lens | Serious faces | Back to back, arms crossed |
| 2 | Peace signs or finger hearts | Someone whispers a secret | Both point at each other |
| 3 | Laughing, heads tilted together | Shocked reaction | One hides behind the other |
| 4 | Silly face, props out | Everyone bursts out laughing | Cheek to cheek, eyes closed |
Other quick prompts: hands as a picture frame around one face, a fake sneeze, or everyone looking off camera at once.
Before your first real session
- Do one full test run and open the downloaded JPEG.
- Clean the webcam lens.
- Turn off notifications; they can cover the countdown.
- Plug the laptop in if you plan a longer session.
For a full party setup with backdrop, props, and a queue that moves, see our photo booth tips for the perfect party and the DIY photo booth ideas on a budget.
FAQ
Is the photo strip maker really free?
Yes. Photobooth Free runs in the browser without signup, download, or app. You choose a layout and effect, take four photos, and download the JPEG.
Can I use it as a photobooth for my laptop?
Yes. Any laptop or desktop with a webcam works. Phones and tablets use their front camera with a live preview, on Android as well as on iPhone and iPad.
What size is a photo booth strip?
The classic strip is 2×6 inches (5×15 cm). Print two strips on one 4×6 inch photo print and cut down the middle.
Where are my photos stored?
They are processed locally in your browser and never uploaded. Only the downloaded JPEG leaves the session, and only to your own device.
Can I add my own text or the date to the strip?
Yes. The frame includes a custom text line for a date, name, or short caption, which is printed into the final JPEG.
Steffen Knödler
Our editorial team checks every guide against the current workflow and feature set of the free browser photo booth.
About the product and editorial processTry These Tips Yourself!
Ready to create amazing photos with all the effects mentioned in this article? Try our free photo booth now!