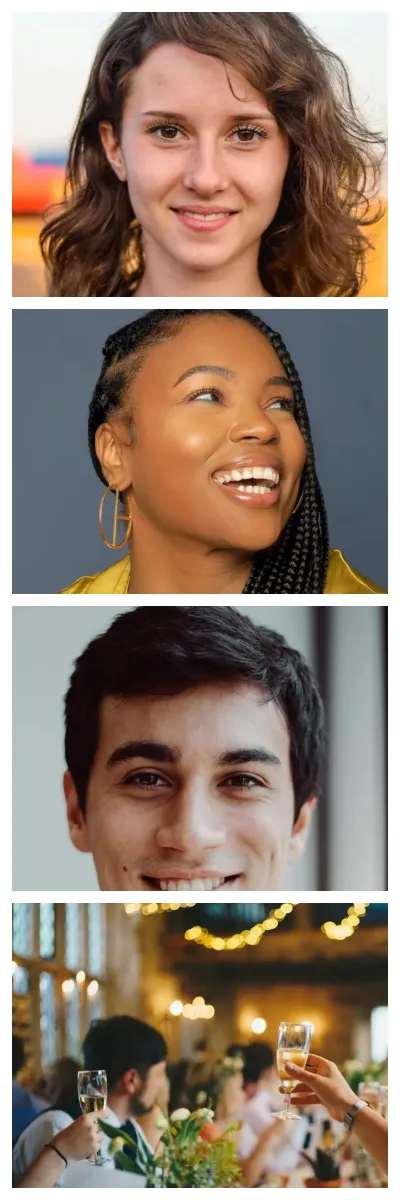
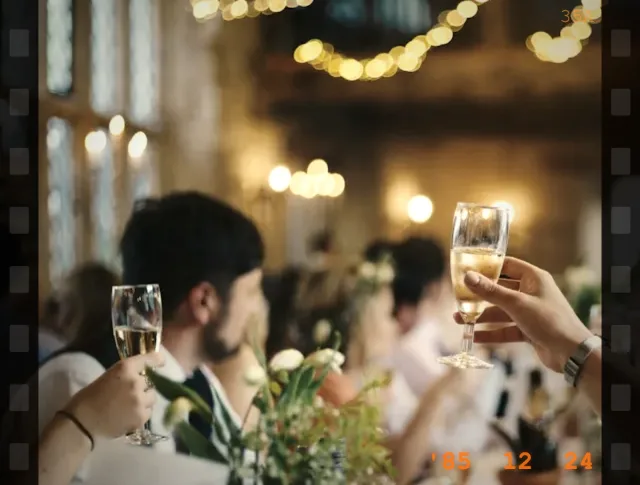
What's in the download
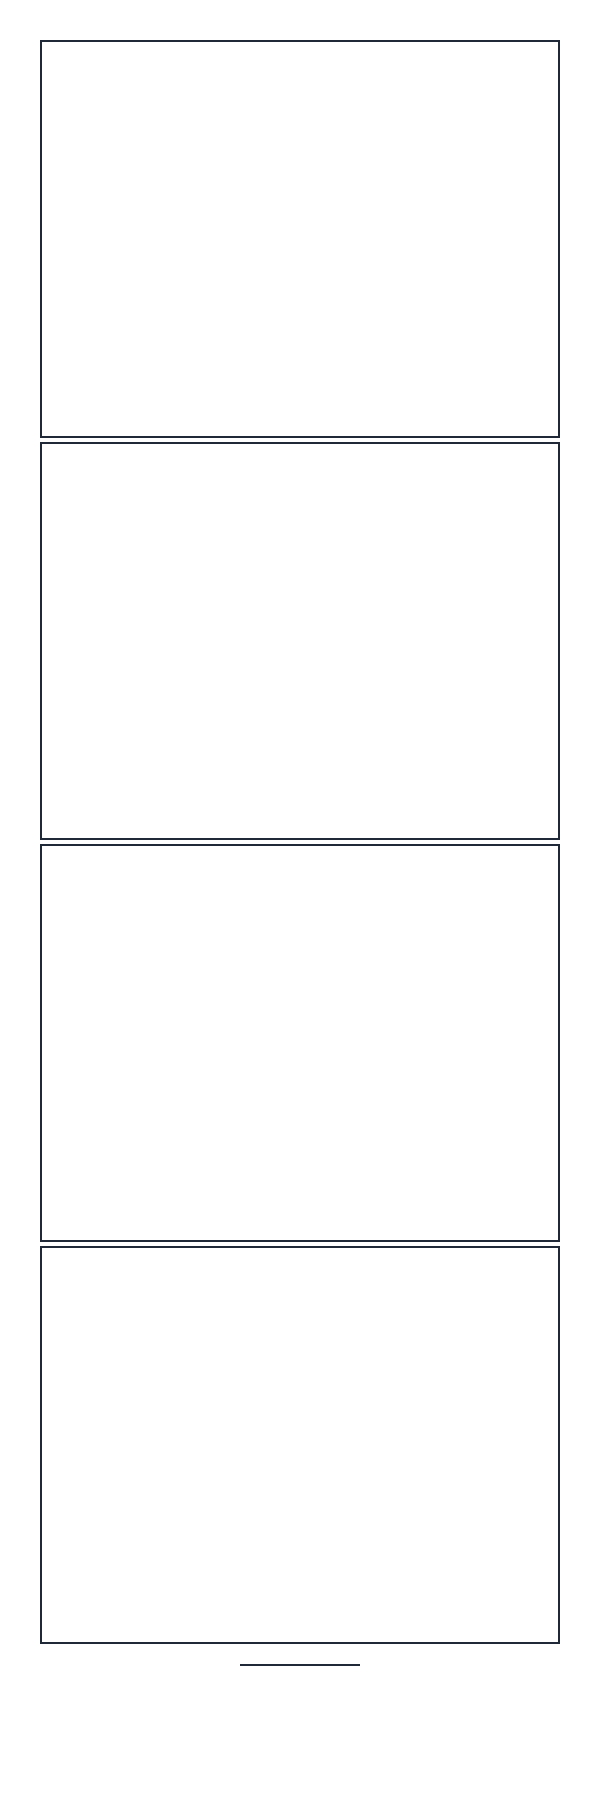
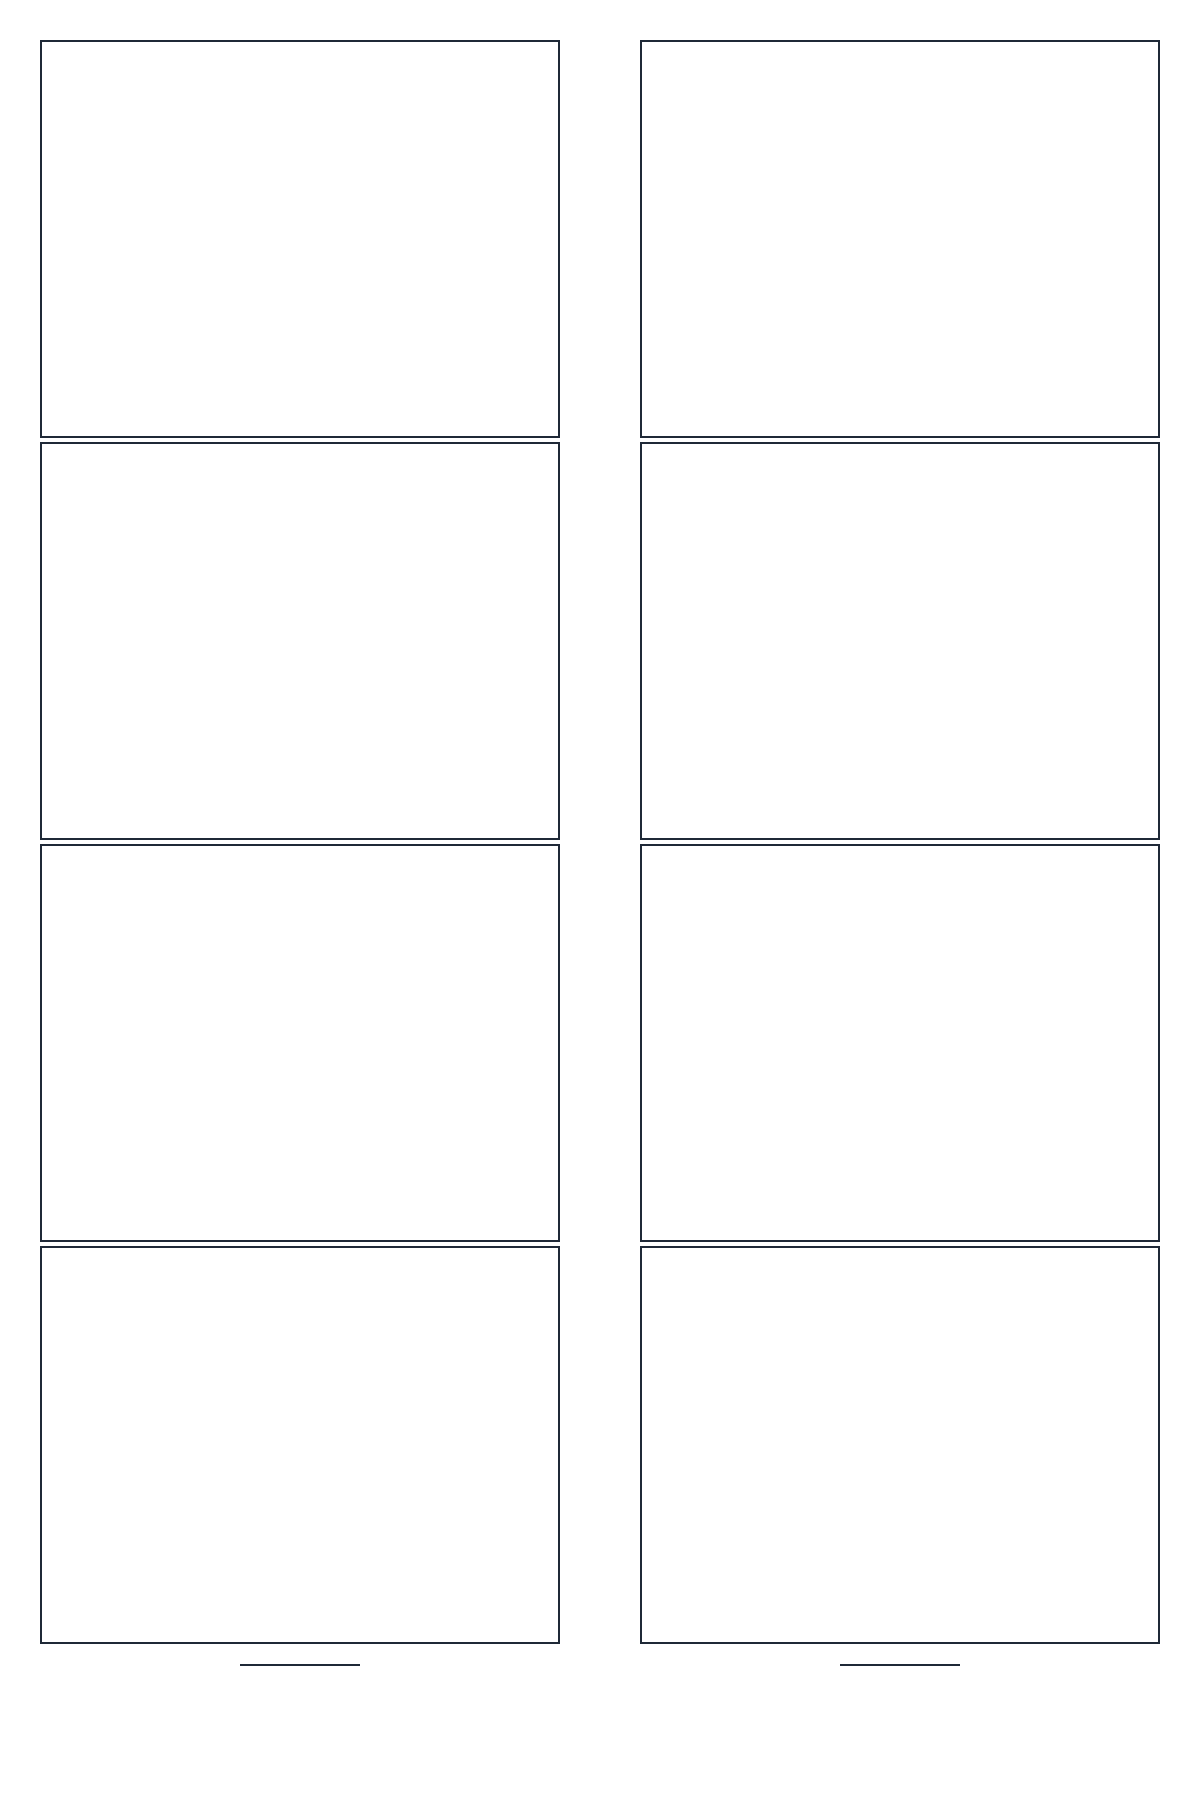
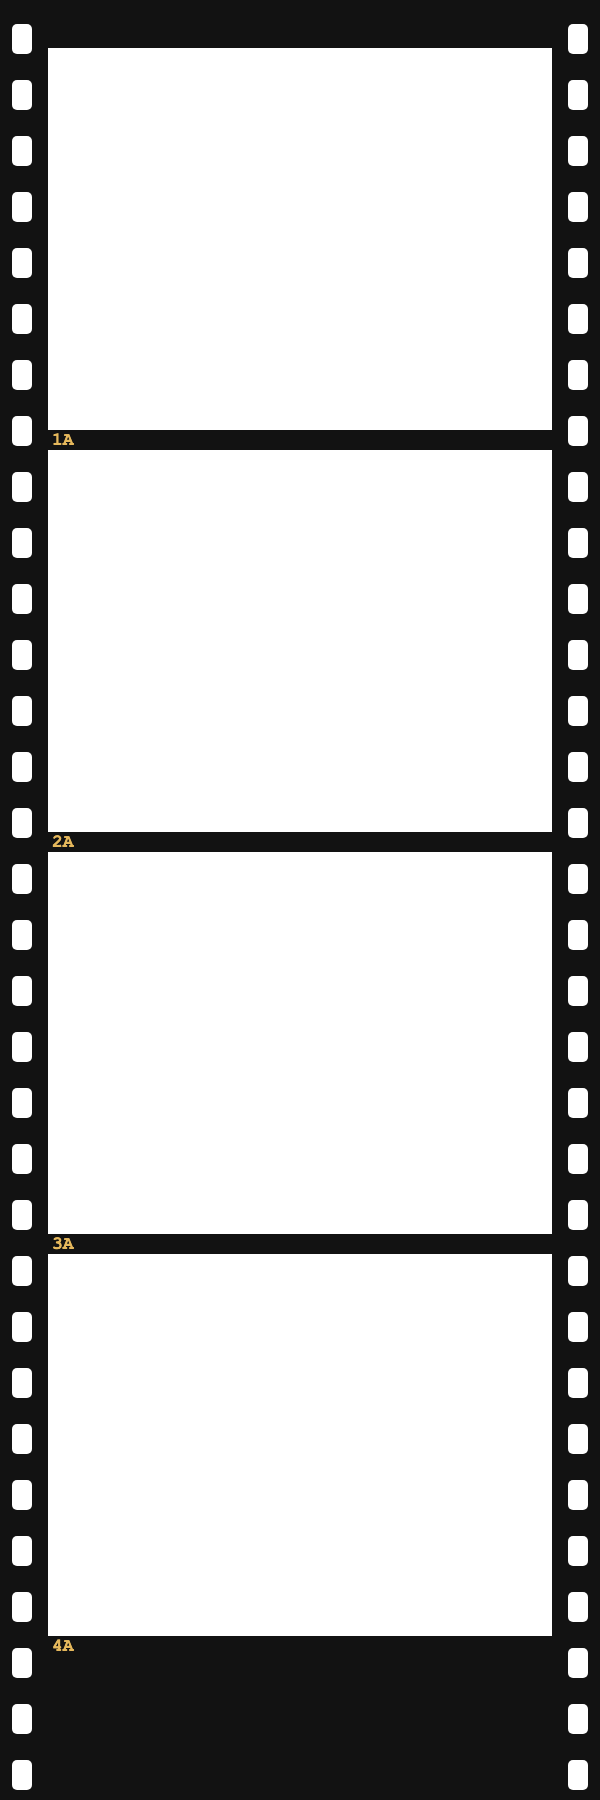
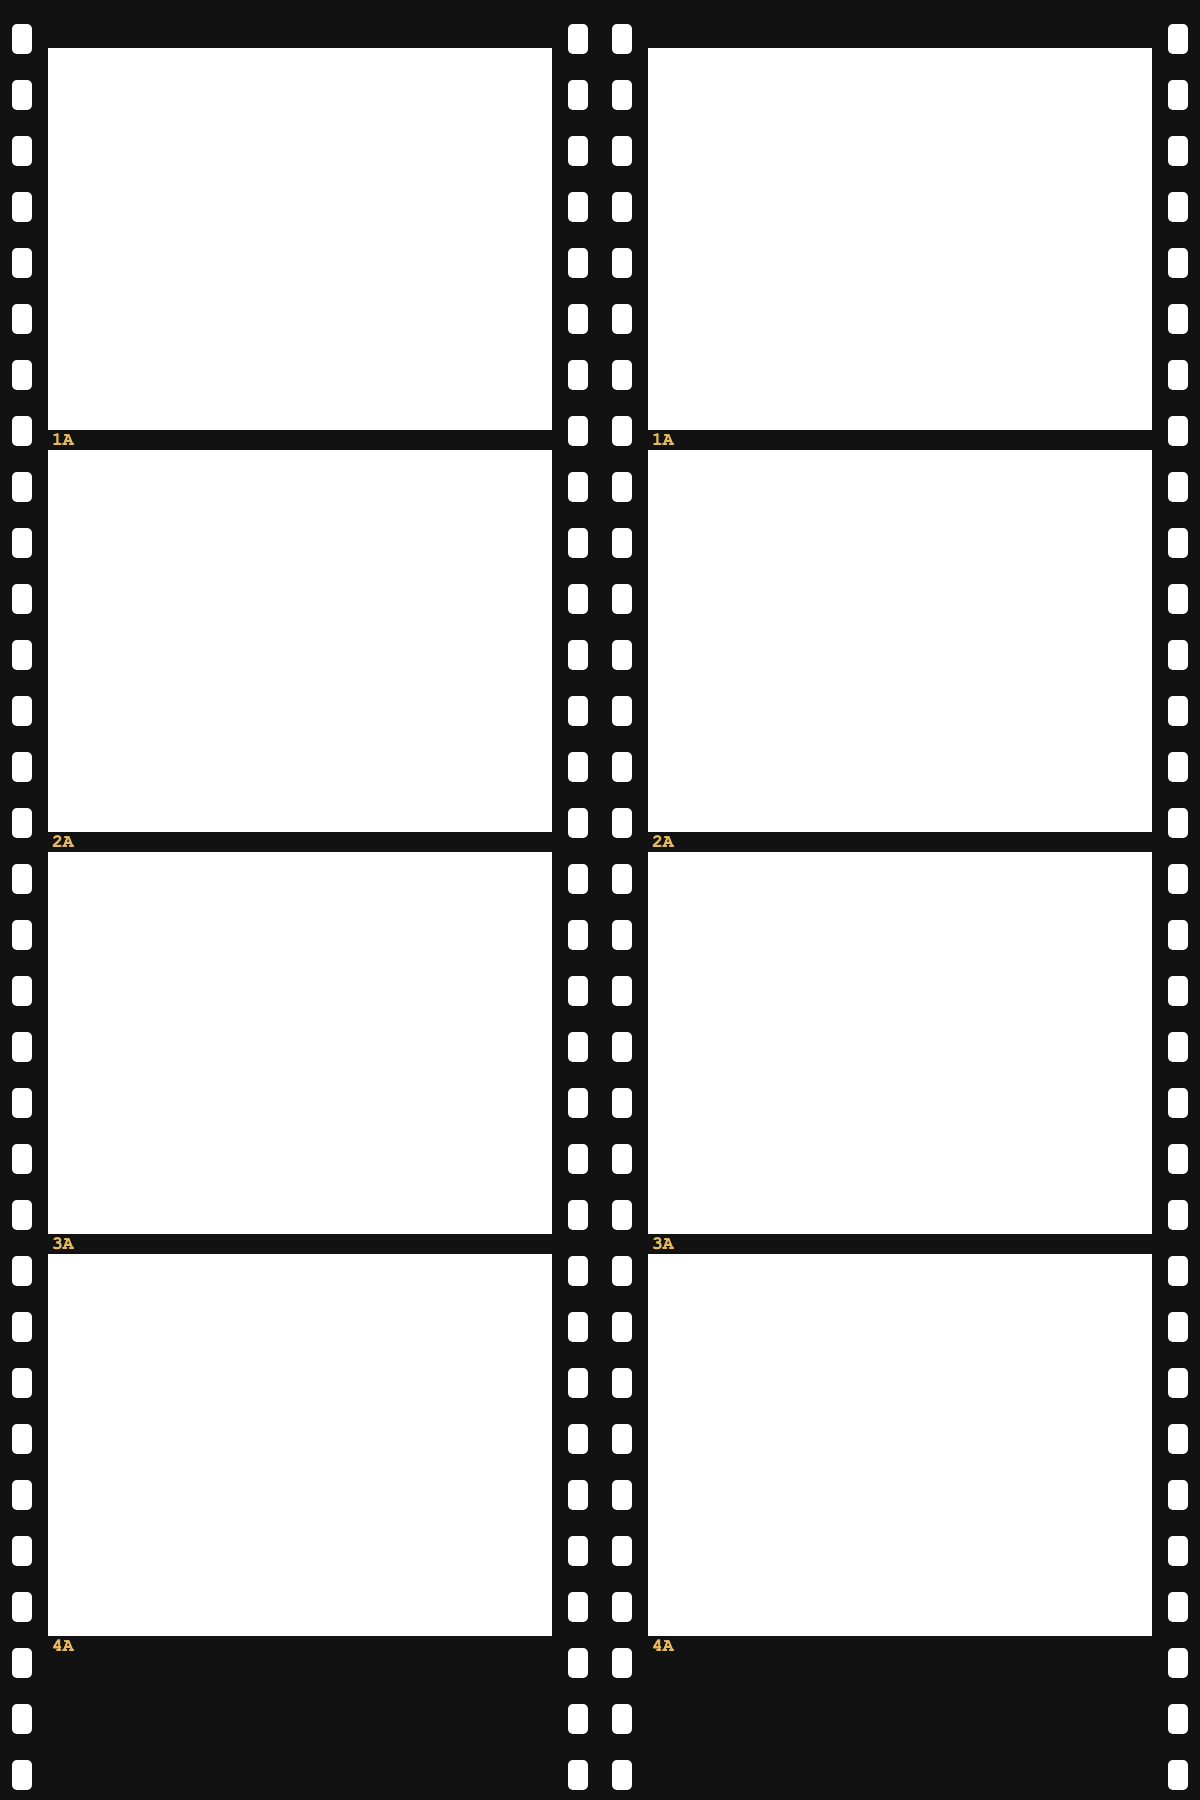
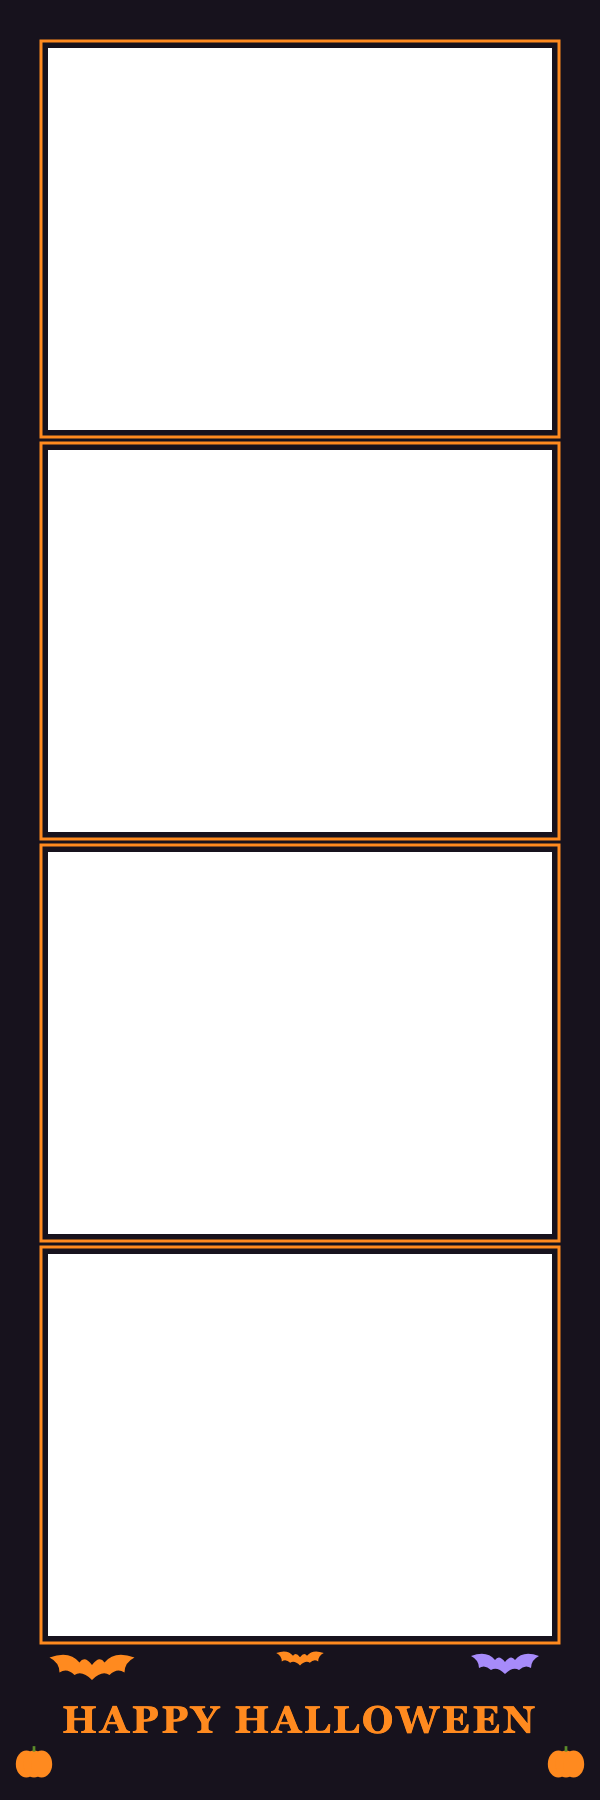
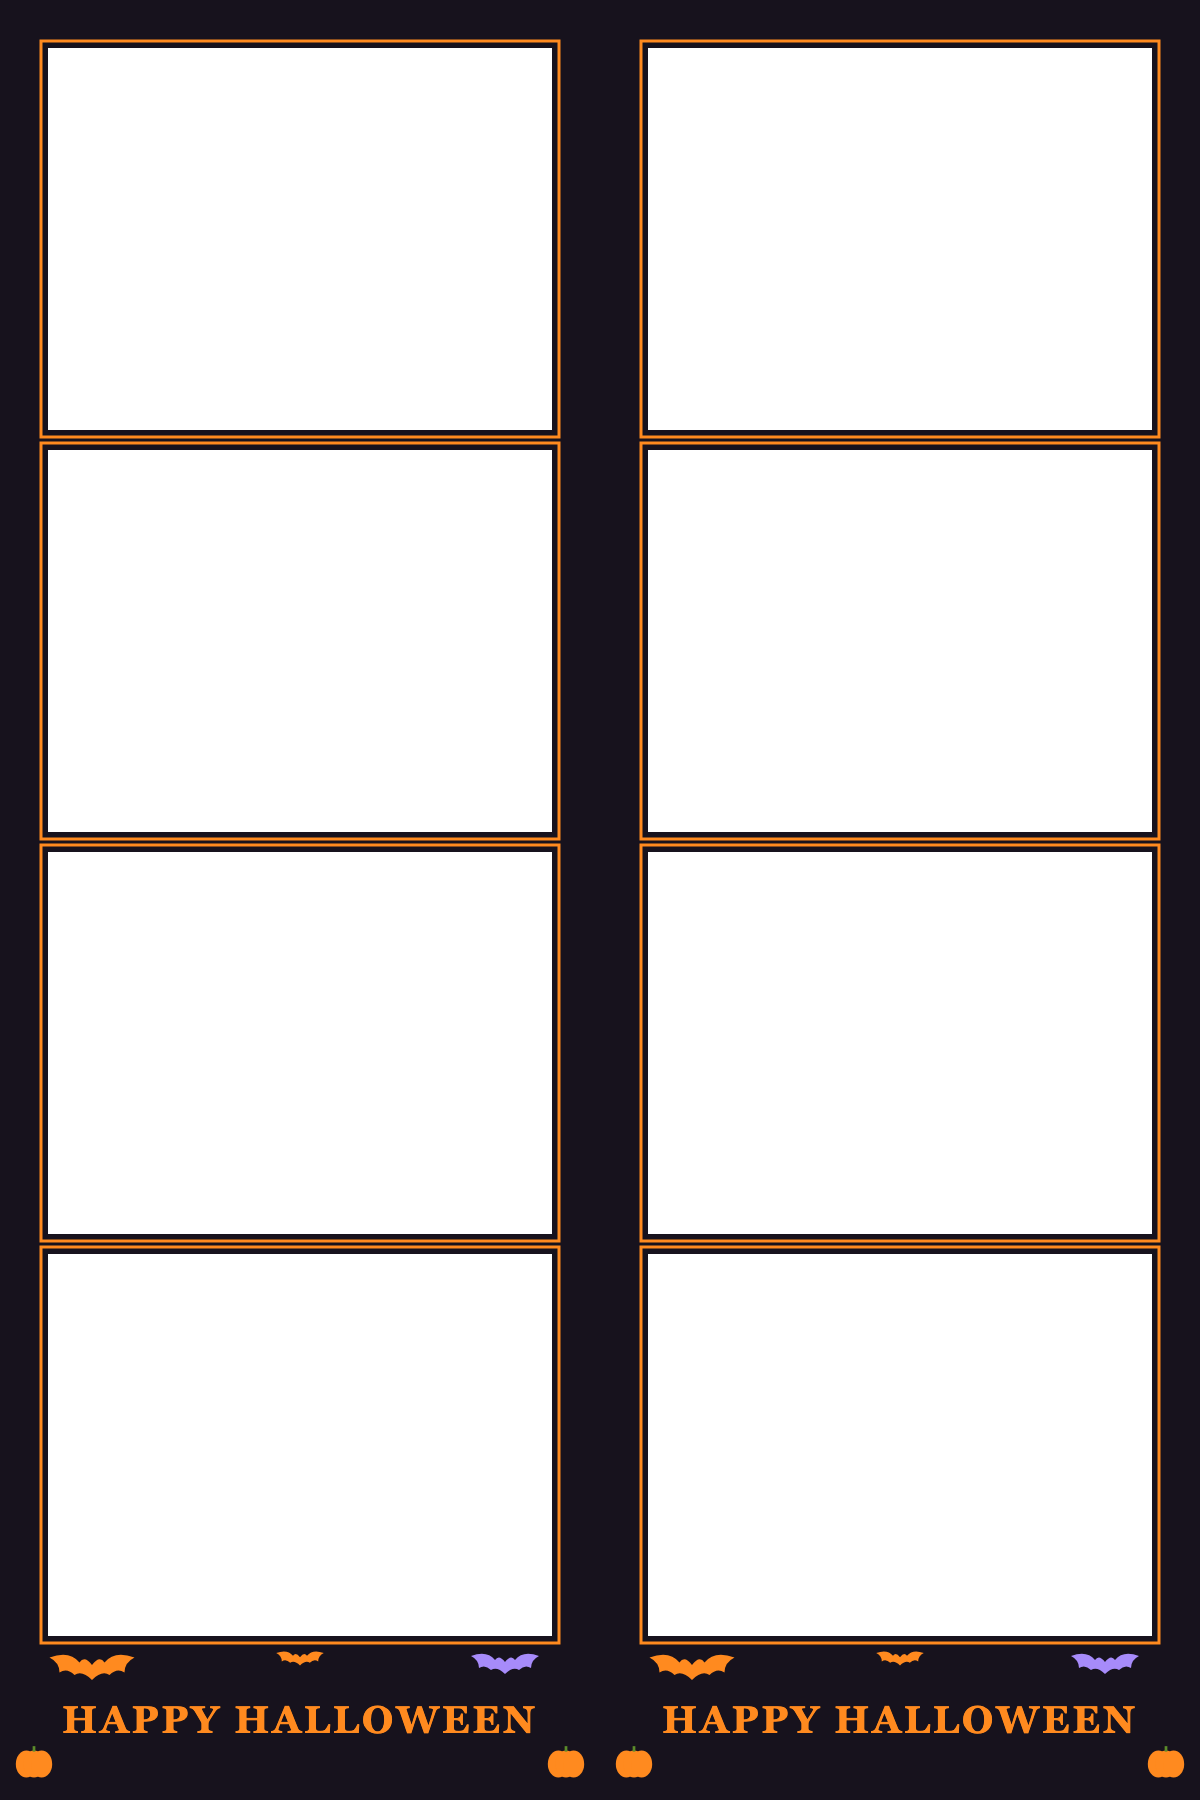
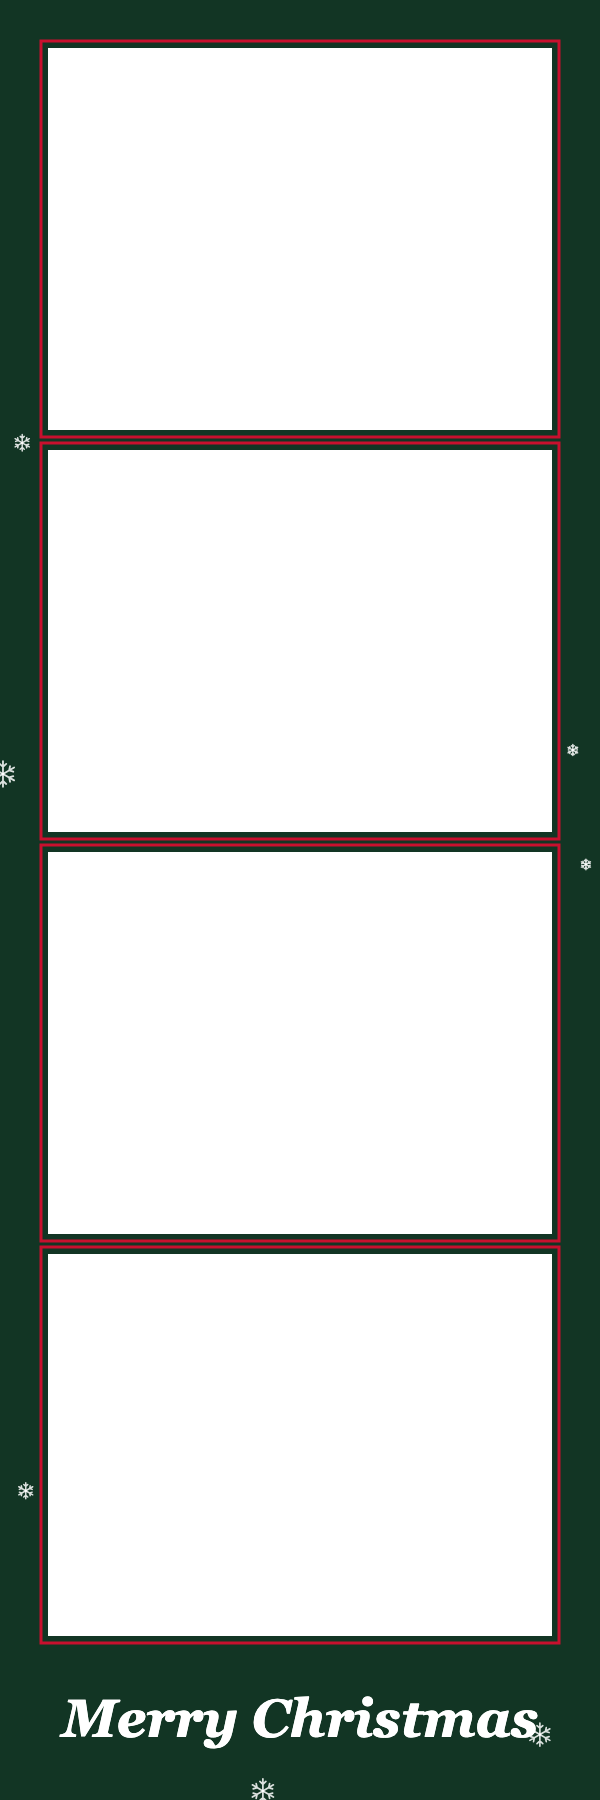
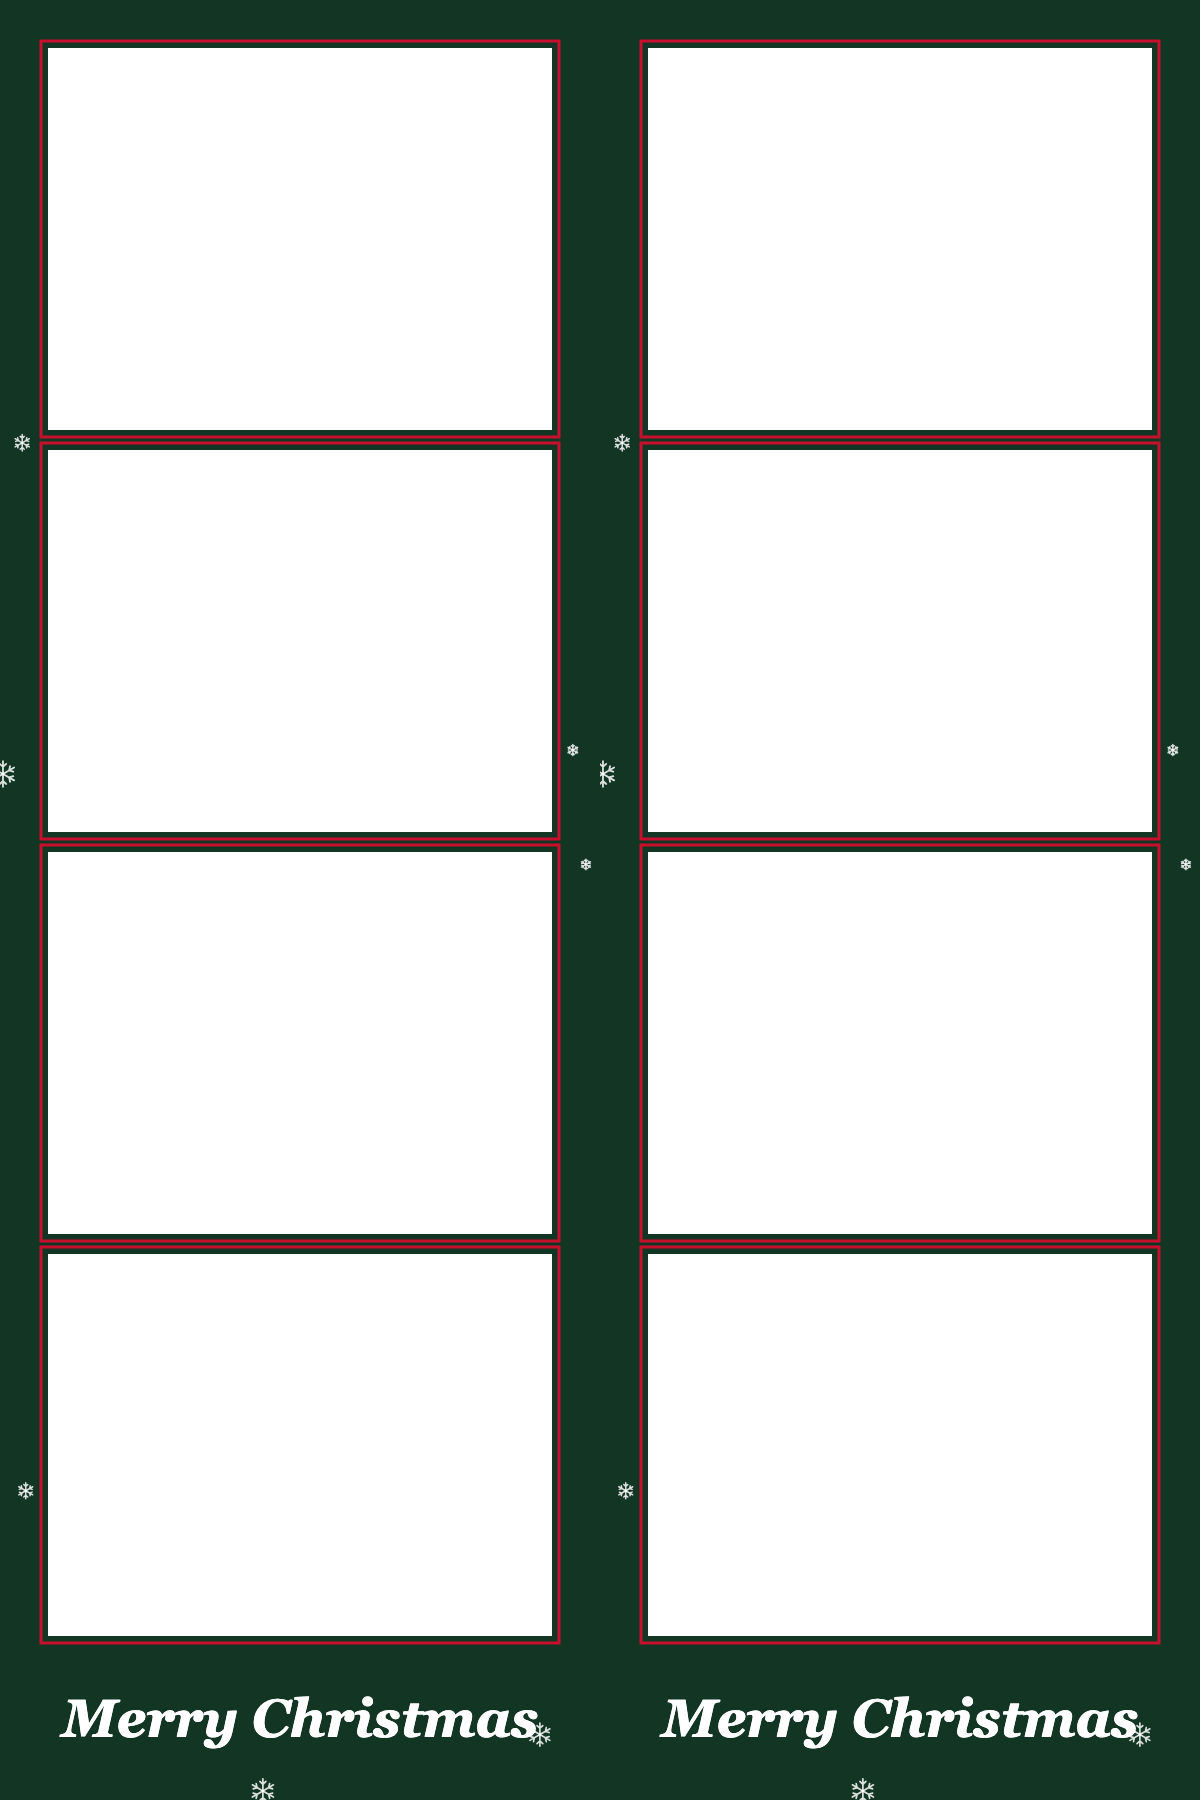
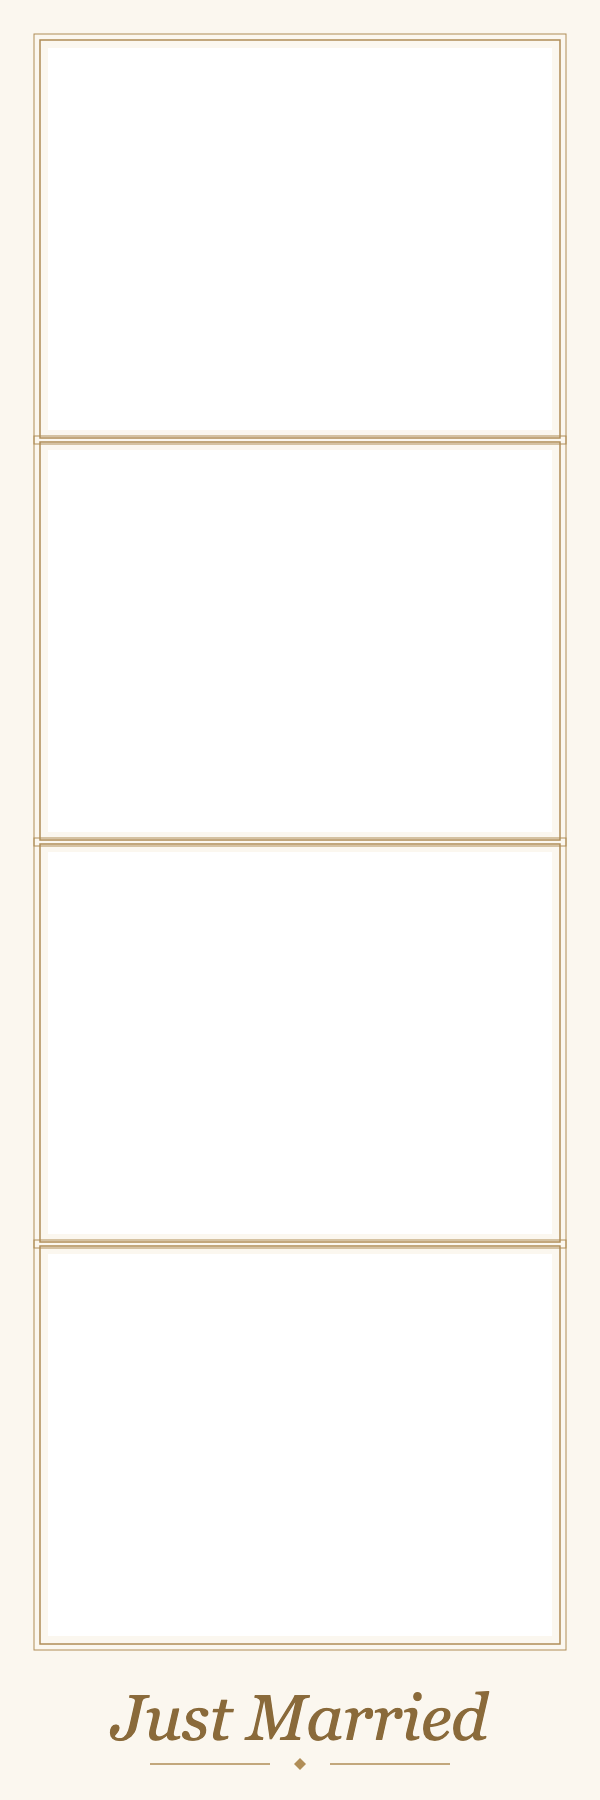
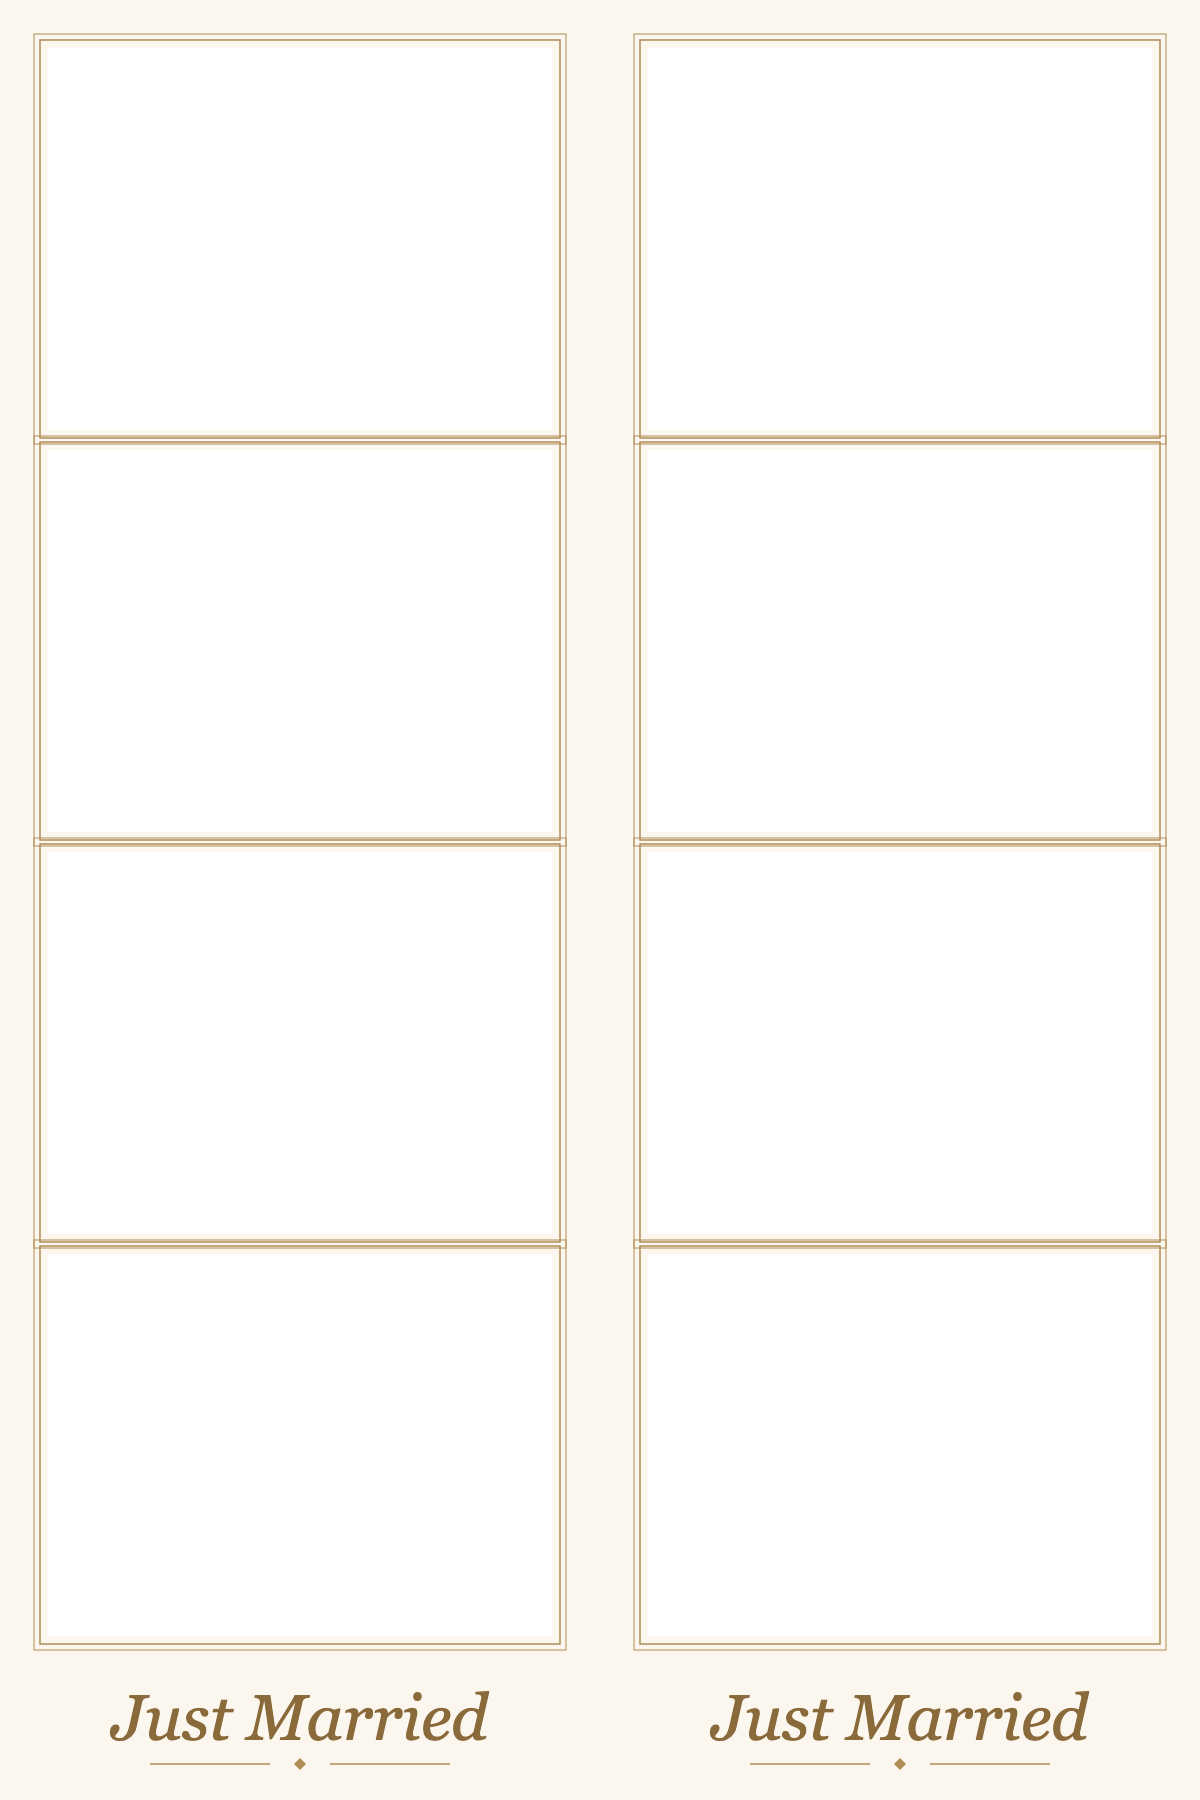
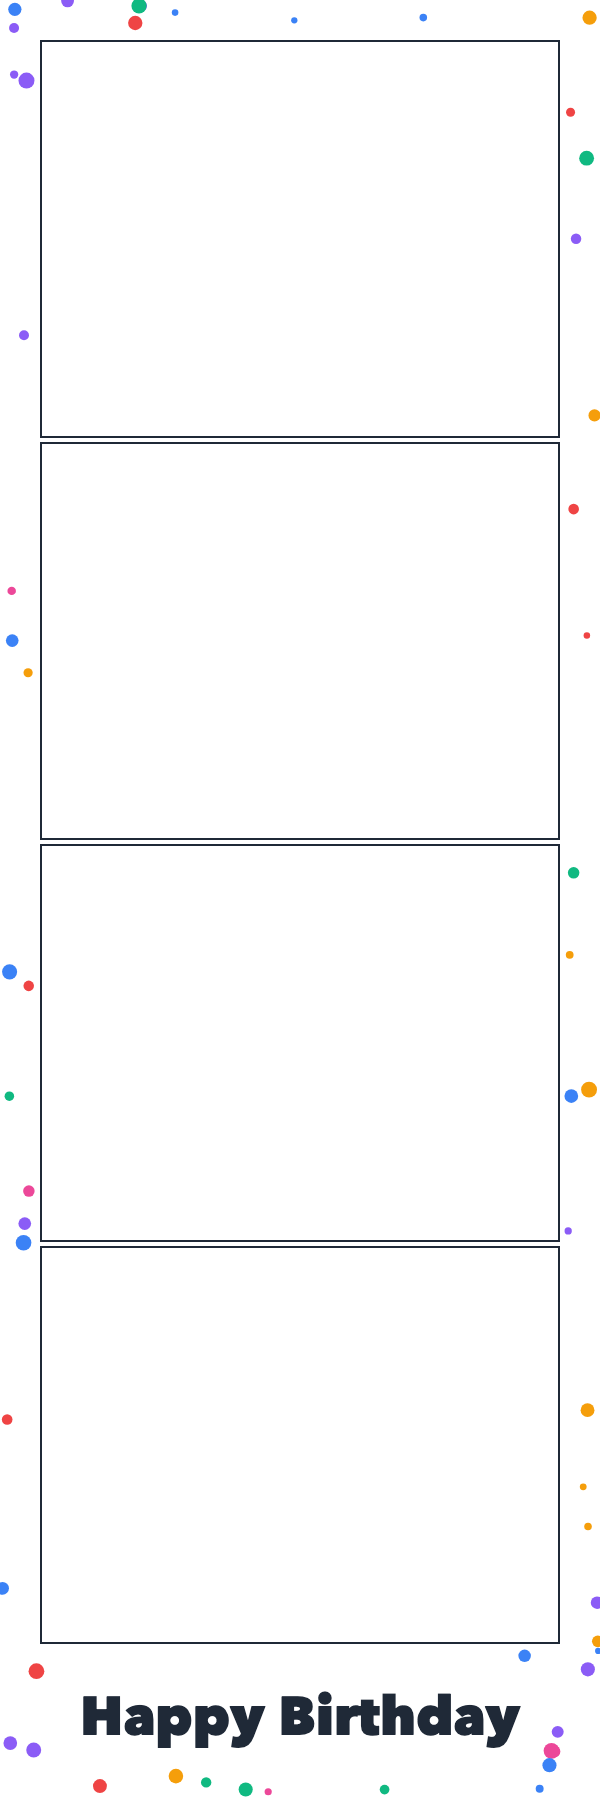
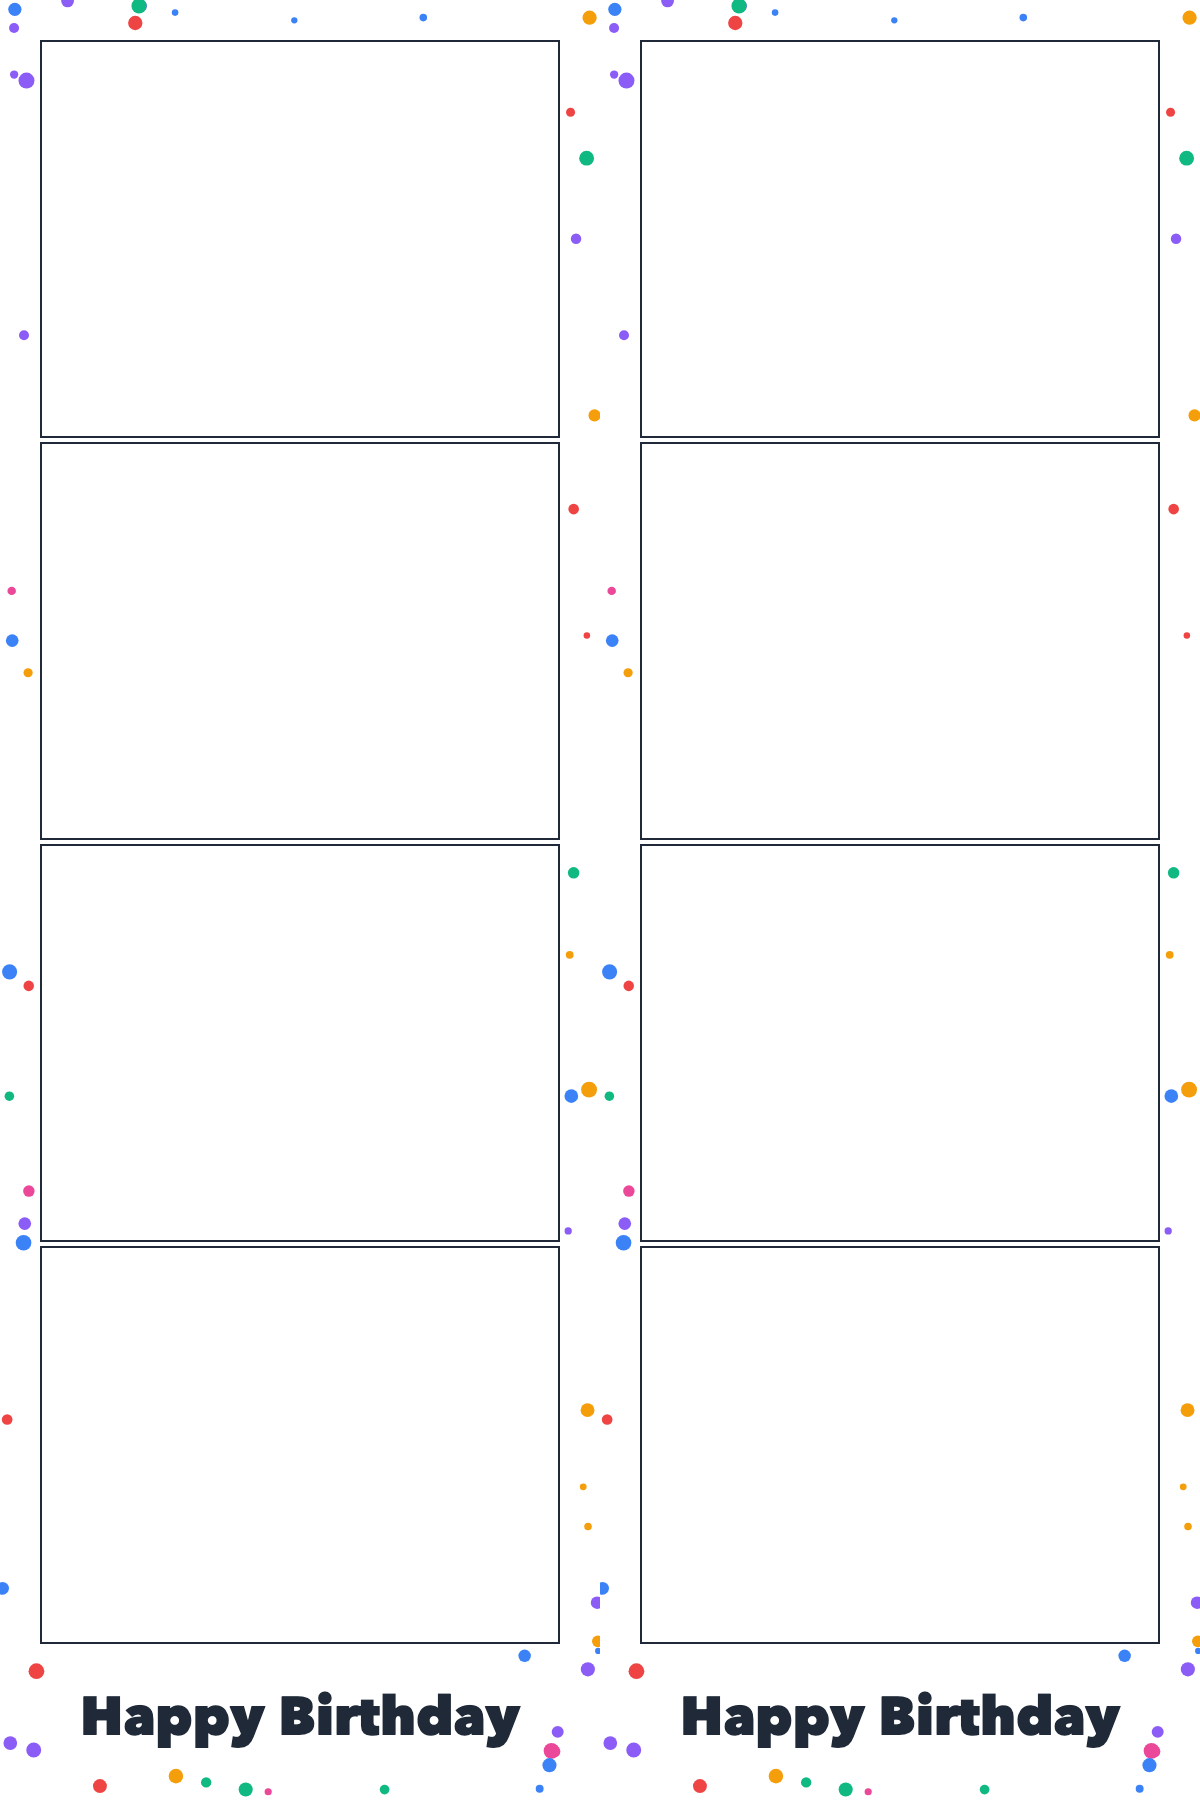
Every design comes in two files, both PNG with transparent photo windows at 300 dpi:
| File | Pixels | Use it for |
|---|---|---|
| Strip, 2×6 in | 600 × 1800 | Strip printers, digital strips, Stories |
| Sheet, 4×6 in | 1200 × 1800 | Two identical strips for a standard 4×6 photo print |
The four windows sit in the same place on every design, with a band at the bottom for a title. Classic white and black film leave that band empty for your own text; the seasonal designs carry a short greeting.
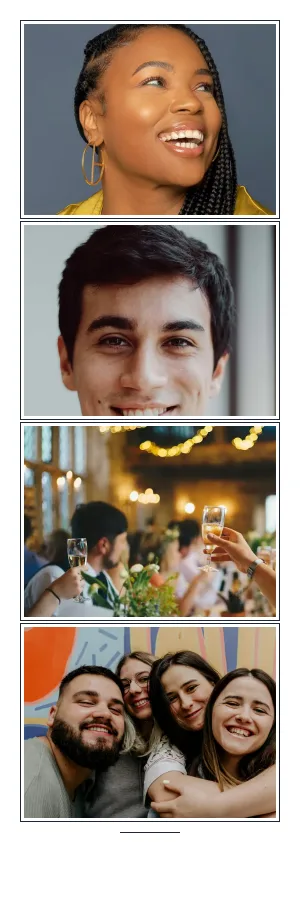
Classic white
White border, thin black keylines, blank title band for your own text.
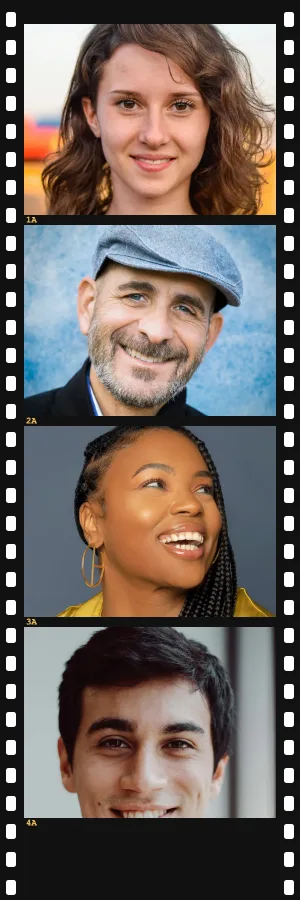
Black film strip
Black frame with film sprocket holes — the analog booth look.
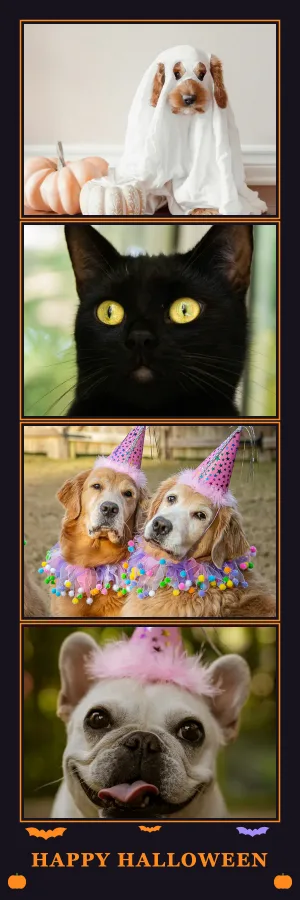
Halloween
Black and pumpkin orange with bats and a “Happy Halloween” title.
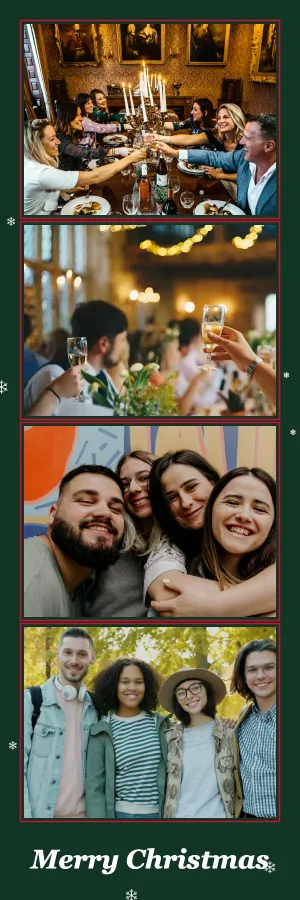
Christmas
Deep green with red keylines, snowflakes and “Merry Christmas”.
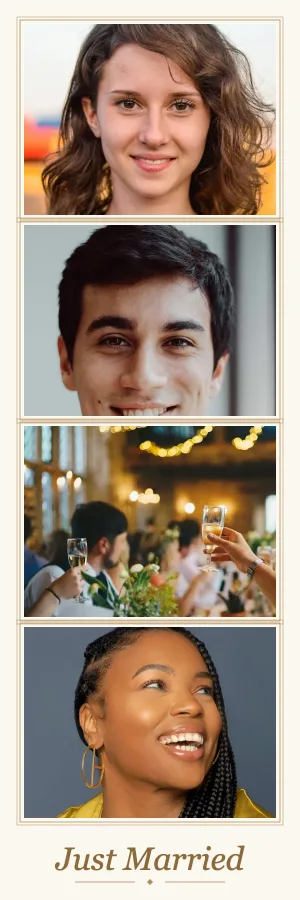
Wedding
Ivory with fine gold double lines and “Just Married”.
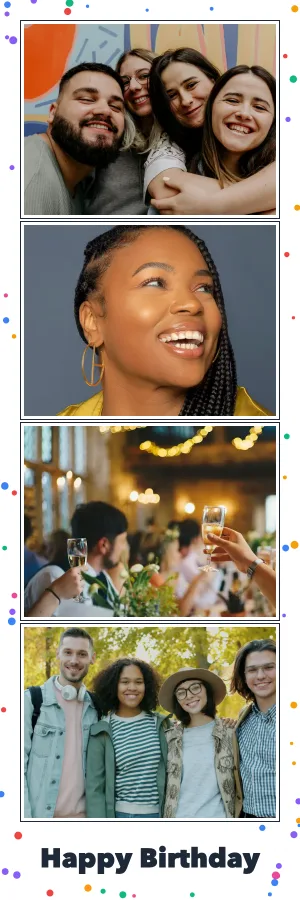
Birthday
White with confetti dots and “Happy Birthday”.
Made to fit the booth’s photos
Each window is 504 × 382 px — a 1.32:1 shape, the same as one cell of the booth's Column strip. Take your four photos in the photo strip maker, then use Single photos after the strip: you get the four shots as separate JPEGs (a ZIP on computers, the share sheet on phones). Scale each one to the window width and it fills the window with nothing cut off.
Any other photo works too; it just gets cropped to the window shape, so check that no heads are cut off at the top.
No editor at hand? The booth can style the strip itself: its optional decorate step after the fourth photo offers frame colours and patterns, stickers and text. These PNG templates are separate files for your editor and printer; they are not loaded into the booth.
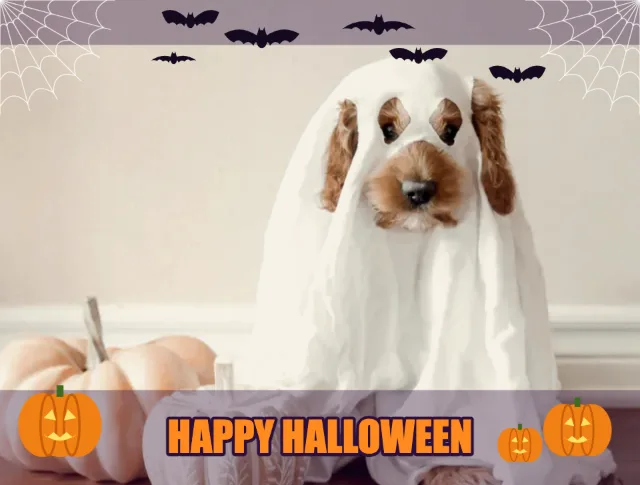
Halloween effect · single shot for the Halloween frame
Try this look
Christmas effect · single shot for the Christmas frame
Try this look
How to use a template in your editor
The rule is the same everywhere: photos on the bottom layer, the template on top.
- Canva: create a custom design of 600 × 1800 px (or 1200 × 1800 px for the sheet), upload the PNG, place your photos, then select the template and choose Position → To front.
- Photoshop or GIMP: open the template, drag your photos in as new layers and move them below the template layer. Resize each photo until it covers its window.
- PowerPoint, Keynote or Word: set the slide or page to 2×6 in (5.08 × 15.24 cm), insert your photos, insert the template and use Bring to Front. Export as PDF or image for printing.
Add your own text in the bottom band of the classic and film designs before you export.
Printing the strips
- Strip printer (2×6 in paper): print the single strip at 100 %.
- Home printer or photo kiosk (4×6 in): use the sheet file, switch off any auto-crop or "fill" option, print, and cut down the middle. One print gives two strips.
- Paper: glossy looks like a real booth print; matte is easier to write on.
Order one test print first. Colors on screen are brighter than on paper, especially the dark Halloween and film frames.
Licence: what you may do with the templates
The templates are free for personal use and for events, including paid events you organize or photograph. No attribution is needed. Please do not sell or redistribute the template files themselves, for example as a template pack on a marketplace — link to this page instead.