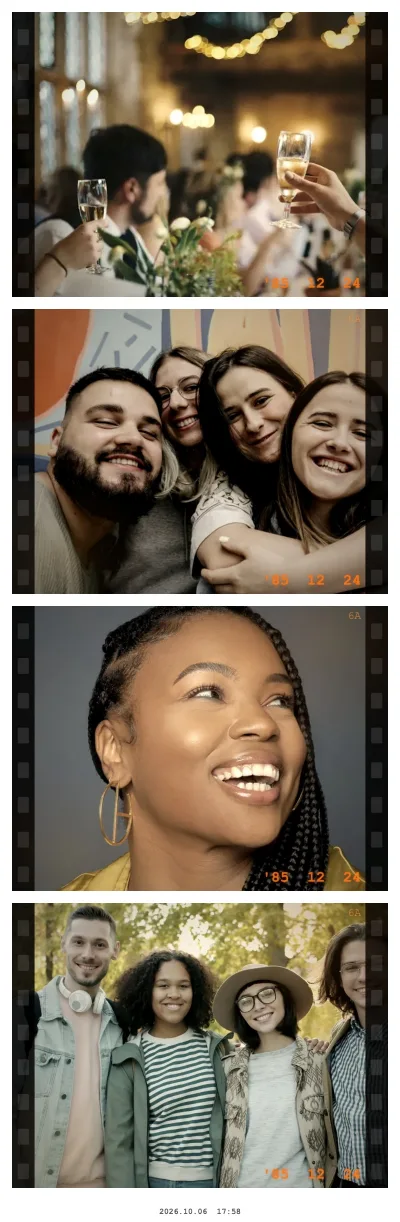
What the Vintage Film effect does
The look is built from the same ingredients that made consumer film prints look the way they do:
- Colour: a light sepia warmth, slightly reduced saturation and a touch more contrast — skin turns golden, blues go soft.
- Film edges: dark bars down both sides of the frame with faint sprocket holes, like a scanned negative.
- Grain: a fine scatter of light and dark specks across the picture.
- Light leaks: warm orange glows in the top-right and bottom-left corners.
- Vignette: the edges darken gently, which pulls the eye to the faces.
- Date imprint: an orange, slightly glowing date in the corner in the style of an 80s camera, plus a small frame number at the top.
The imprint is a fixed retro date, not today's. If you want the real date on the strip, switch on the strip's own date stamp in the settings.

Before: no effect
Try this look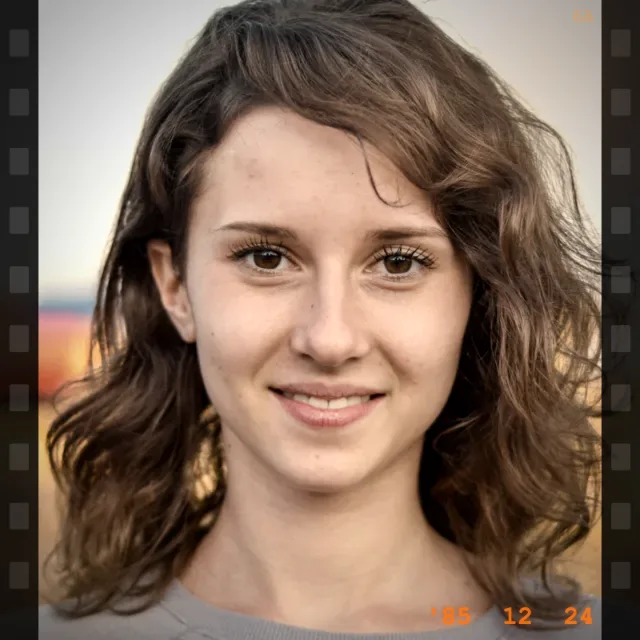
After: Vintage Film
Try this look
Party themes it suits
- Decade parties — 70s, 80s or 90s. The warm tone flatters denim, corduroy, sequins and big hair.
- Milestone birthdays where guests come dressed in the year the birthday person was born.
- Class and family reunions. Pair the strip with a caption like “Class of ’96” for an instant yearbook feel.
- Garden weddings and engagement parties — soft, nostalgic, kind to every skin tone.
- Record nights and diner-style dinners. Anything with vinyl, milkshakes or a jukebox playlist.
The effect does not draw your text onto the photo, so it stays clean. Add the occasion as a caption under the collage instead: type your text, then switch on “Add text + date under the collage”.
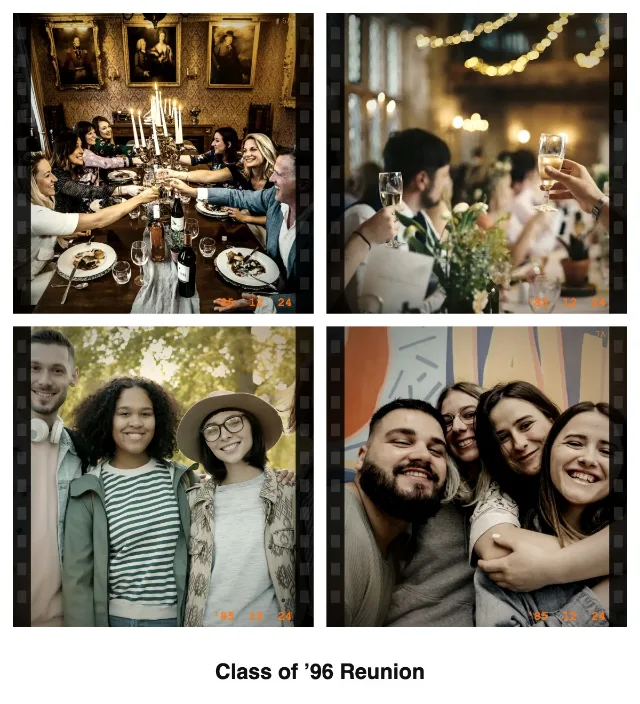
Vintage Film · 2×2 square with caption
Try this look
Styling for a convincing film look
Film effects work best when the scene already looks a bit analog:
- Warm light. A table lamp with a warm bulb in front of the guests beats cold LED party lights. Avoid strong coloured LEDs — the sepia shifts them in odd directions.
- Textured backdrop. Wood panelling, a patterned curtain, a tinsel curtain or a bookshelf. Plain white walls look flat after the vignette.
- Props from the era. Big sunglasses, a rotary phone, a vinyl sleeve, a disposable camera, a feather boa.
- Solid colours in clothing. Mustard, rust, olive and cream look great in warm tones; neon and pure white look less period-correct.
Strip, square or postcard?
| Layout | Size | Best use for a vintage look |
|---|---|---|
| Column (photo strip) | 2×6 in / 5×15 cm | The classic booth print, perfect with the film edges |
| Square (2×2) | 5×5.5 in print | Chats, feeds and framed prints |
| Postcard | A6 landscape | Thank-you cards and invitations for the next reunion |
All three use the same effect on every shot. For a strip that mixes vintage with other looks, use Random mix — but then each shot gets a different, random effect.
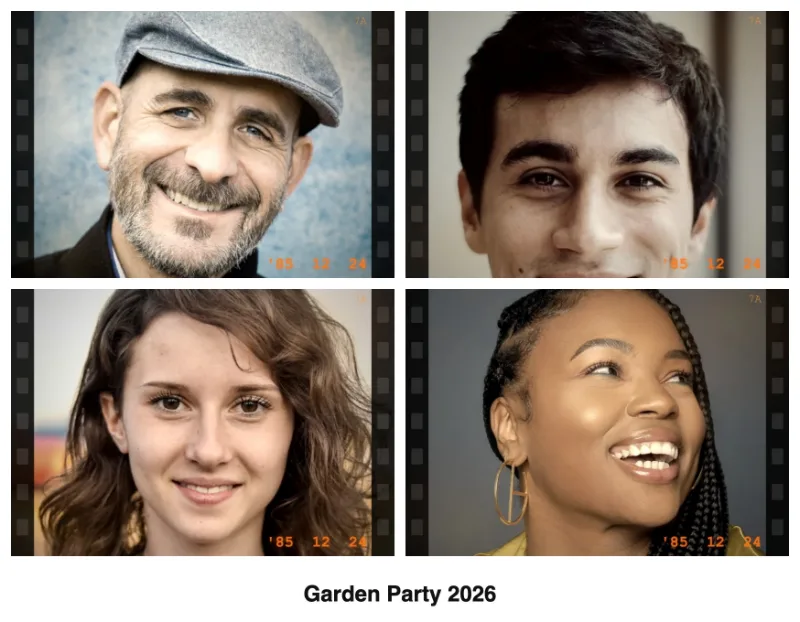
Vintage Film · Postcard with caption
Try this look
Printing for a real analog feel
- Choose matte or lustre paper. Glossy paper looks digital; matte is closer to old drugstore prints.
- Keep your printer's colour settings neutral. The warmth is already in the image — automatic enhancement often removes it again.
- Two strips per sheet. In the Print menu of a strip, 2 strips on 4×6 in puts two copies side by side on 4×6 inch (10×15 cm) photo paper, with cut marks for the middle; Save 4×6 sheet (JPEG) does the same as a file for a photo kiosk.
- Add a frame. In the booth's optional decorate step, the cream or recycled-paper border suits the film look. For a printed film-strip border, the black film design in the free photo strip templates has transparent windows for the booth's single photos.
The Print button in the booth opens the print dialog at the right page size for the layout you chose, so a strip prints at 2×6 inches without extra steps.